Transform your active sourdough starter into a magnificent, bakery-quality loaf with this comprehensive beginner’s guide. We break down the entire process—autolyse, stretch and folds, bulk fermentation, shaping, and baking—into manageable steps.
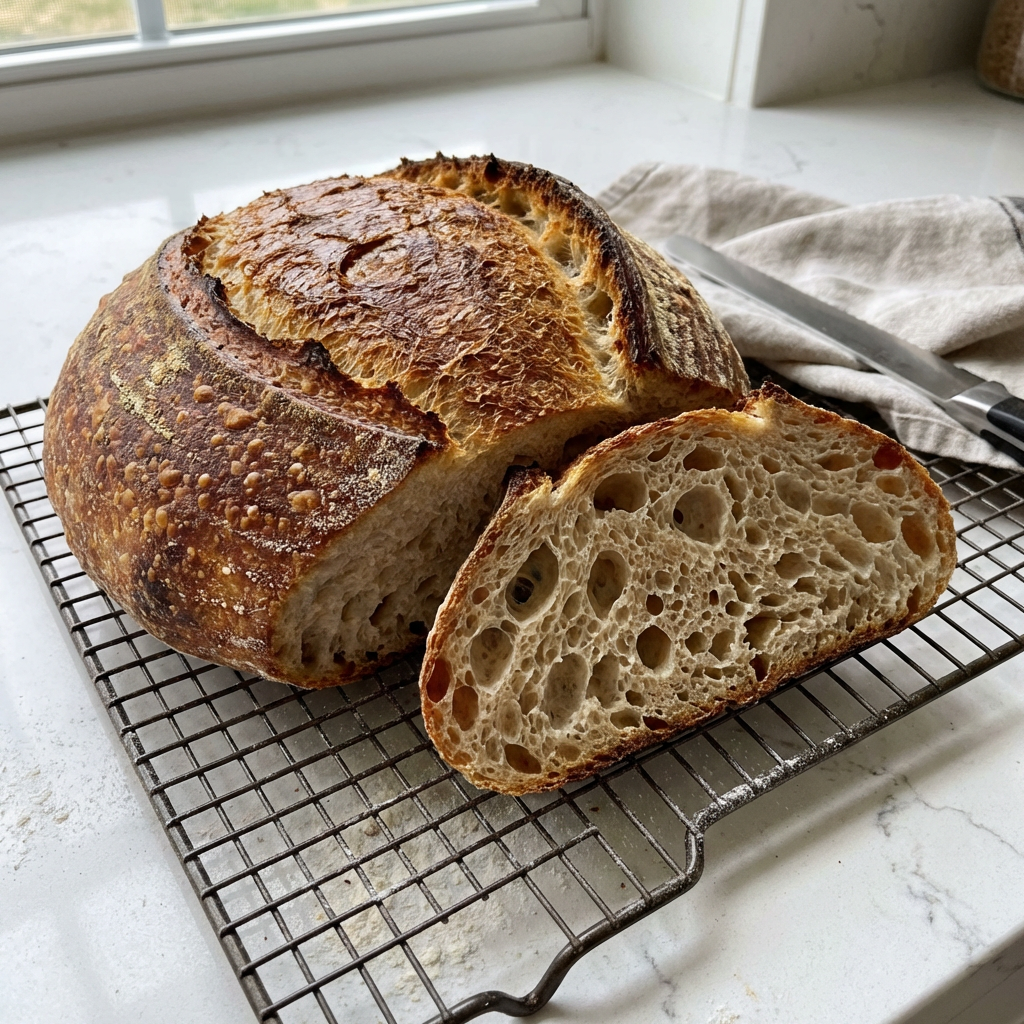
With clear instructions and an emphasis on the “why” behind each technique, you’ll gain the confidence to bake a loaf with a crisp, caramelized crust and a soft, tangy interior dotted with those coveted irregular holes.
The Science Behind the Perfect Loaf
Sourdough baking is a dance between time, temperature, and gluten development. The wild yeast and bacteria in your starter work slowly, producing gas and acids during fermentation. This long, cool fermentation is what develops the bread’s complex flavor and strengthens the gluten network to trap those gases, creating an “open crumb.”
The key techniques—stretch and folds during bulk fermentation—gently organize this gluten network without degassing the dough, building the structure it needs to rise sky-high in the oven (a phase called “oven spring”).
Finally, scoring the dough just before baking isn’t just decorative; it provides a controlled weak point for the loaf to expand, preventing it from bursting at the seams. Baking in a preheated, covered Dutch oven replicates a professional steam-injected oven, ensuring maximum rise and a crisp, shiny crust.
Instructions
Feed Your Starter & Autolyse
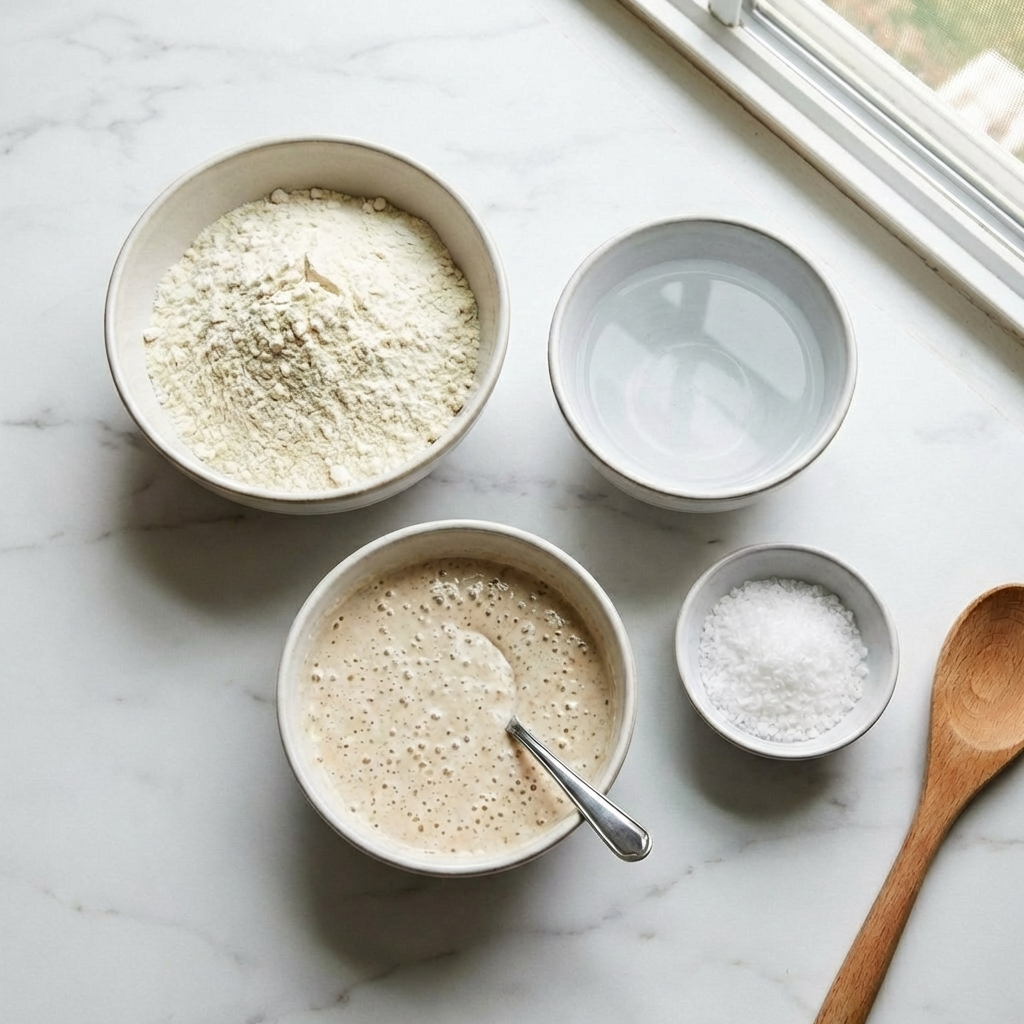
8-12 hours before you plan to mix your dough, feed your starter so it is active and at its peak (bubbly and doubled) when you begin. In a large bowl, combine the bread flour and 350g of water.
Mix until no dry flour remains. Cover and let this shaggy mixture rest (autolyse) for 1 hour. This allows the flour to fully hydrate and gluten to begin developing, making the dough easier to work with.
Mix in Starter & Salt
Add the 100g of active starter to the autolysed dough. Use wet hands to pinch and squeeze the dough for 2-3 minutes until the starter is fully incorporated and no streaks remain. Let the dough rest, covered, for 30 minutes.
Then, sprinkle the salt over the dough, add a few drops of water to help it dissolve, and use the same pinching method to fully incorporate the salt. The dough will become smoother.
Bulk Fermentation with Stretch & Folds
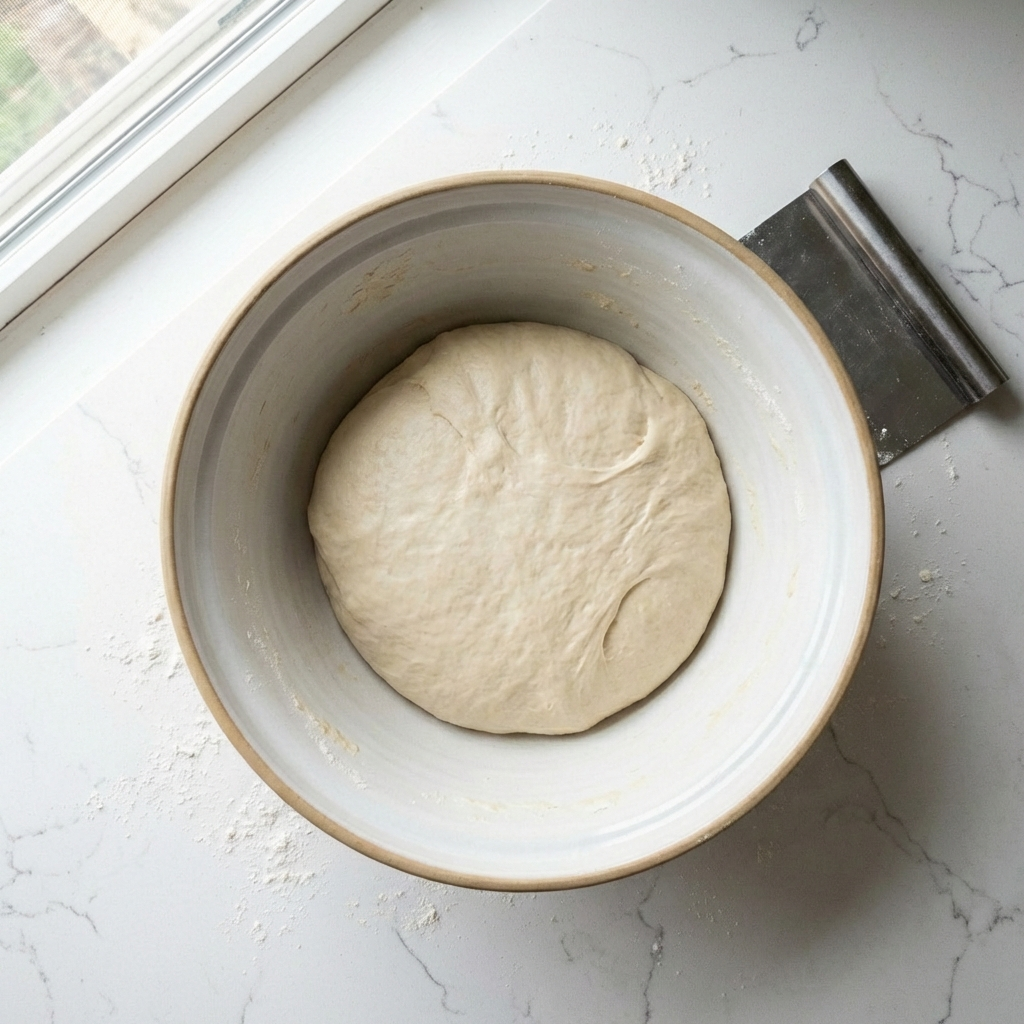
This is the main rising period. Cover the bowl and let the dough rise at room temperature (ideally 70-75°F / 21-24°C) for 4-6 hours. During the first 2 hours, perform 4 sets of “stretch and folds,” spaced 30 minutes apart.
Wet your hand, grab one side of the dough, stretch it upward, and fold it over the center. Repeat on all four sides. This builds strength. After the final fold, let the dough rest undisturbed for the remainder of bulk fermentation. It should look puffy, have risen by about 30-50%, and be dotted with small bubbles.
Shape the Dough & Cold Proof
Gently turn the dough out onto a lightly floured surface. Using a bench scraper, shape it into a tight ball (a “boule”) by folding the edges into the center and rotating. Let it rest seam-side down for 20 minutes (bench rest). For the final shape, flip the dough over (seam-side up), create surface tension by pulling the dough toward you, then place it seam-side up into a well-floured proofing basket (banneton).
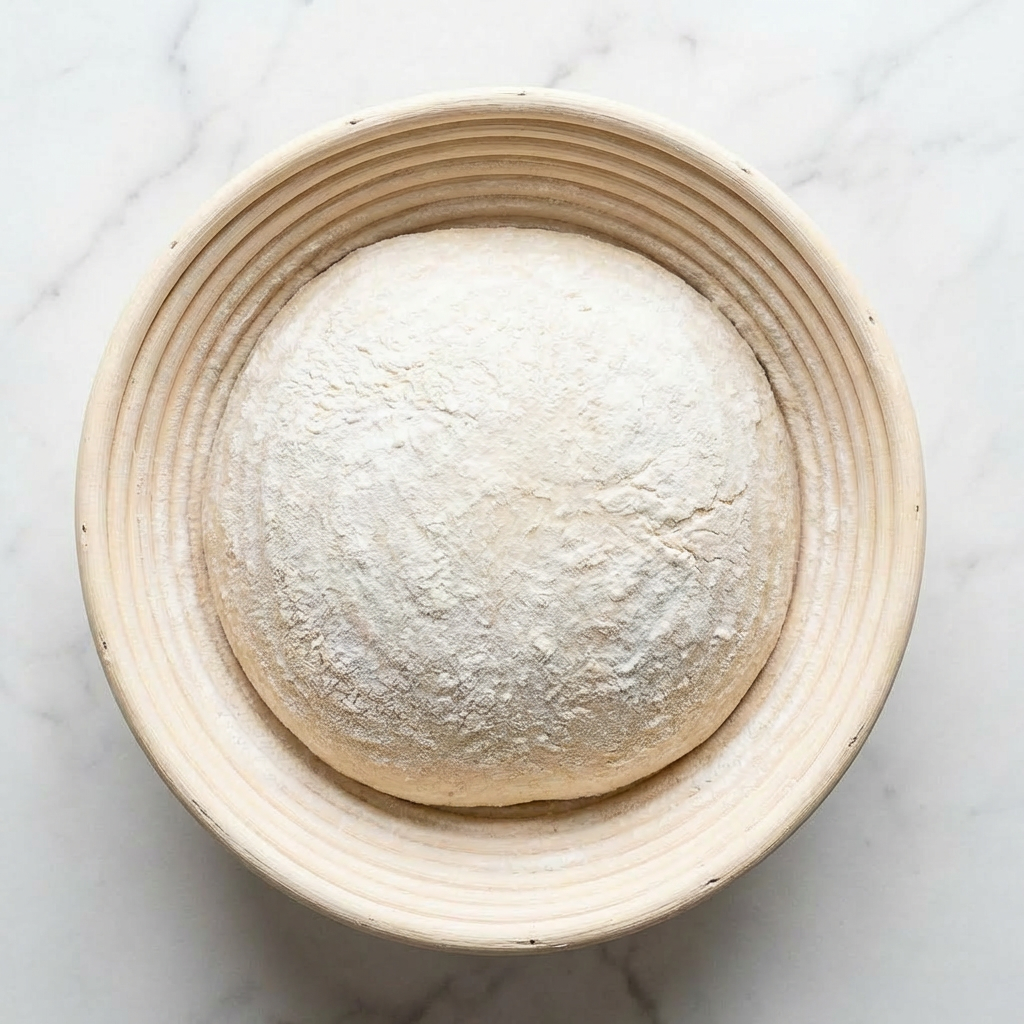
Alternatively, use a bowl lined with a floured tea towel. Cover and place in the refrigerator for 12-16 hours (overnight). This “cold proof” develops flavor and makes the dough easier to score.
Preheat & Score
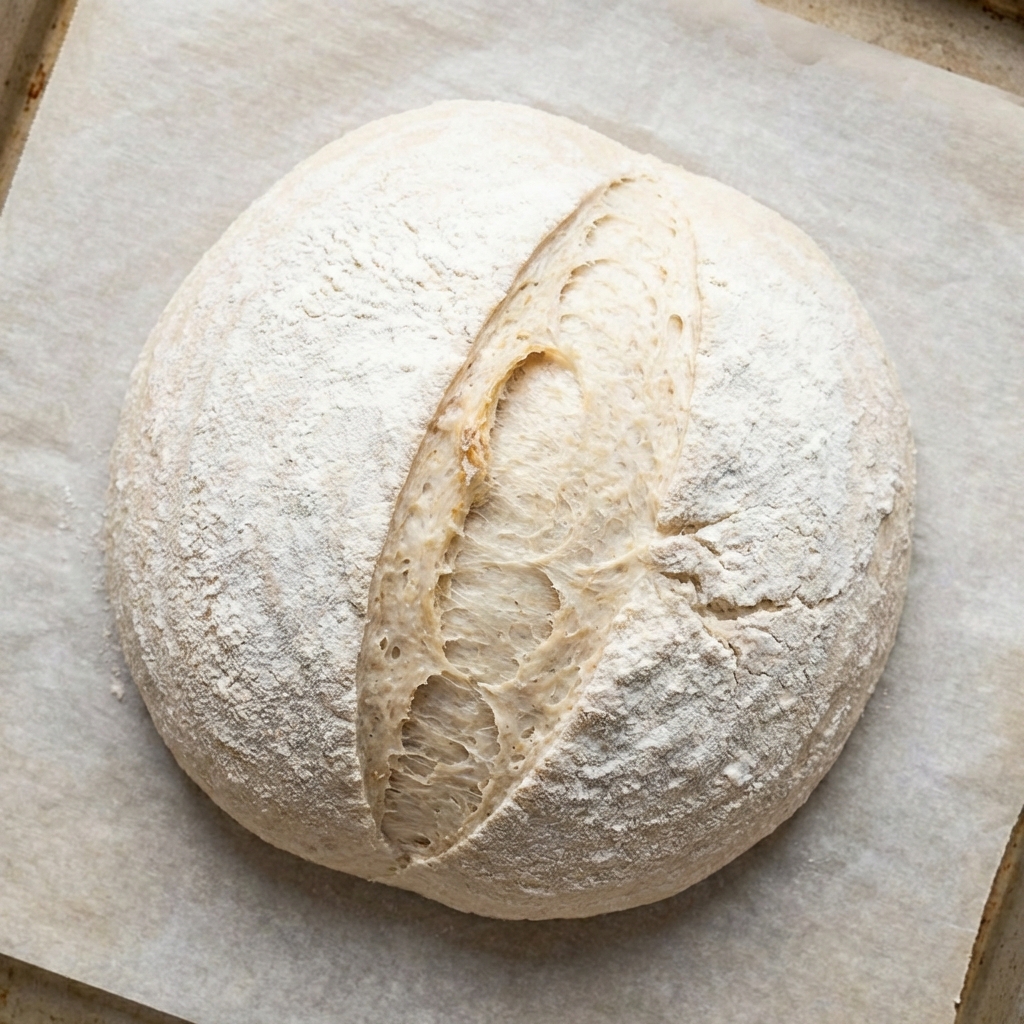
Place your Dutch oven (with lid on) in your oven and preheat to 450°F (230°C) for at least 45 minutes. Carefully remove the cold dough from the fridge. Place a sheet of parchment paper over the basket, flip it over, and gently lower the dough onto the paper. Using a razor blade (lame) held at a shallow angle, make one confident slash about ½-inch deep across the top of the loaf.
Bake
Carefully remove the hot Dutch oven from your oven. Using the parchment as a sling, lift and lower the dough into the pot. Cover with the lid and bake for 25 minutes. This creates a steamy environment for maximum oven spring.
Remove the lid, reduce the oven temperature to 425°F (220°C), and bake for another 20-25 minutes, until the crust is a deep, rich brown.
Cool Completely
Transfer the baked loaf to a wire rack. This is critical: let it cool completely for at least 3-4 hours before slicing. The interior is still cooking and setting as it cools. Cutting too soon releases steam and results in a gummy crumb.
Beginner’s Pro-Tips
- Starter Readiness is Key: Your starter should pass the float test (a spoonful floats in water) and be at its peak activity, not after it has fallen.
- Judge by Dough, Not Clock: Bulk fermentation time depends on your kitchen temperature. Look for the 30-50% rise and a bubbly, jiggly dough.
- Handle Gently: Preserve those gas bubbles during shaping to achieve an open crumb.
- Don’t Skip the Cold Proof: The overnight rest makes the process manageable and dramatically improves flavor.
- Preheat Thoroughly: A blazing hot Dutch oven is essential for a good rise.
- Score with Confidence: A quick, decisive slash works better than a hesitant, slow cut.
- Resist the Urge to Cut: The cooling period is part of the baking process. Your patience will be rewarded with perfect texture.
Welcome to the rewarding world of sourdough baking!