Let’s talk about breakfast magic. You know, the kind where you do almost nothing and wake up to something amazing? That’s chia seed pudding. It’s the breakfast that makes itself while you sleep, transforming a few simple ingredients into a creamy, dreamy, pudding-like masterpiece by morning.
Chia seeds are tiny powerhouses—they absorb liquid, plump up, and create this incredible tapioca-like texture that’s both satisfying and nourishing. Packed with protein, fiber, and omega-3s, it’s a breakfast that actually keeps you full.
And the best part? It’s a blank canvas. Chocolate, vanilla, berry, coconut—you decide. Mix it in a jar before bed, grab it from the fridge in the morning, and spend your extra time feeling brilliant.
The Science of Chia: How Tiny Seeds Become Pudding
Chia seeds are little magicians. When they meet liquid, they form a gel-like coating around each seed thanks to their soluble fiber. This process, called gelation, is what transforms a thin liquid into a thick, creamy pudding. The seeds absorb up to 10 times their weight in liquid, plumping up and creating that signature tapioca-like texture.
The key to perfect chia pudding is ratio and patience. Too many seeds and you get a solid block; too few and it never sets. The magic ratio is 4 tablespoons of chia seeds to 1 cup of liquid. And patience is non-negotiable—they need at least 4 hours (overnight is best) to work their magic. Stir them once after 15-20 minutes to break up any clumps, then let them do their thing. Science never tasted so good.
Instructions
Choose Your Container
Grab a jar, bowl, or any container with a lid. Mason jars are perfect because you can make, store, and eat from the same vessel .
Add Chia Seeds
Pour ½ cup of chia seeds into your container. No need to rinse them—they’re ready to go .
Add Sweetener and Flavorings
Add your maple syrup (or honey), vanilla extract, pinch of salt, and any flavor additions like cocoa powder or peanut butter .
Add Milk
Pour in 2 cups of your chosen milk. Give it a quick stir to begin combining .
Whisk Thoroughly
Whisk vigorously for about 1 minute to break up any clumps of chia seeds. This initial mixing is crucial for a smooth, clump-free pudding .
Wait and Whisk Again
Let the mixture sit for 15-20 minutes, then whisk again. This second whisking breaks up any seeds that have started to clump together at the bottom. It’s the secret to perfectly uniform texture .
Cover and Refrigerate
Put the lid on your container and place it in the refrigerator. Let it set for at least 4 hours, but overnight is best. The longer it sits, the thicker and creamier it becomes .
Check Consistency
In the morning, your pudding should be thick, creamy, and spoonable. If it’s too thick for your liking, stir in a splash of milk until it reaches your desired consistency .
Stir and Portion
Give the pudding a good stir. If you made a big batch, portion it into individual jars or bowls for the week ahead .
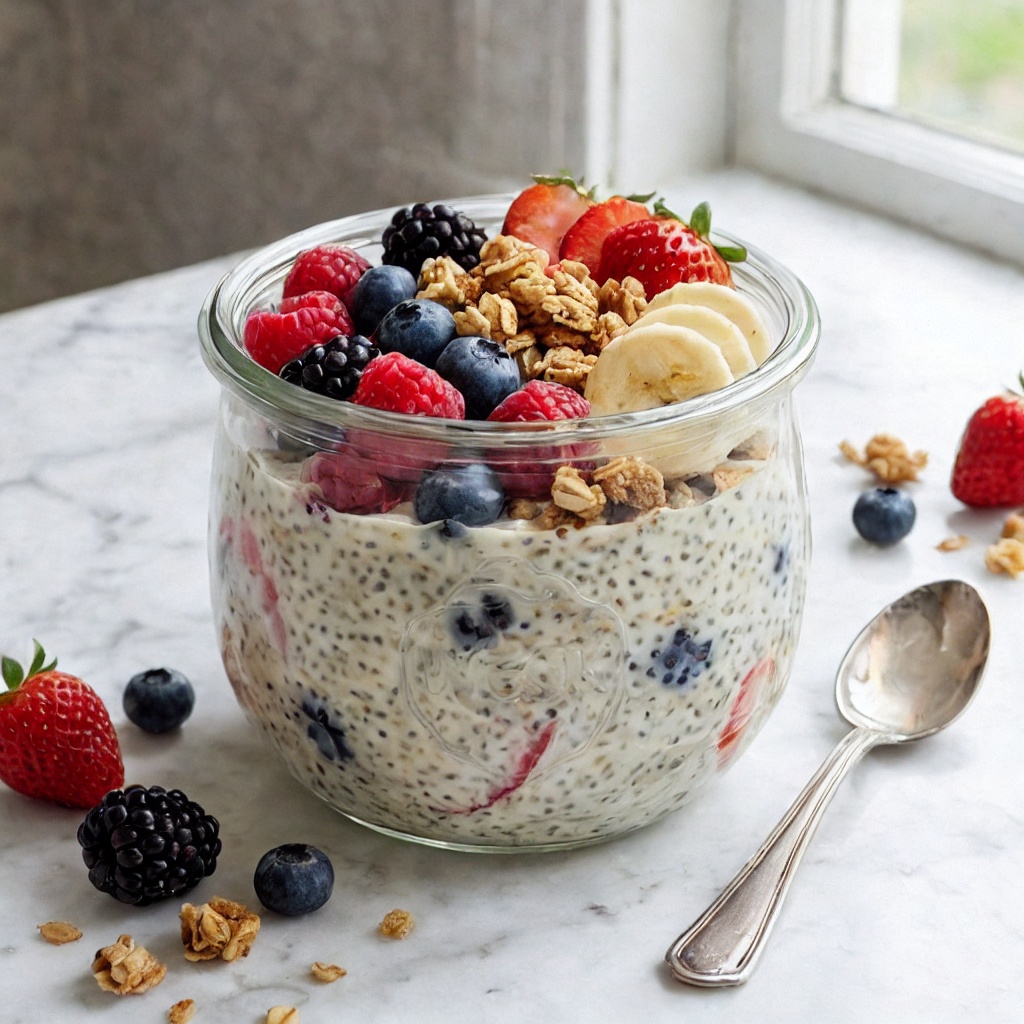
Top and Serve
Add your favorite toppings—fresh berries, granola, a drizzle of peanut butter, shredded coconut. The toppings are where you can get creative every single day .
Enjoy
Grab a spoon and dig into your overnight masterpiece. Breakfast is served, and you barely did a thing .
Pro-Tips for Chia Pudding Greatness
- Whisk Twice: The initial whisk and the 15-minute re-whisk are non-negotiable for clump-free pudding. Don’t skip it .
- Patience is a Virtue: Chia pudding needs time. 4 hours minimum, overnight ideal. Rushing it results in runny pudding .
- Adjust to Your Taste: Like it thicker? Add more chia seeds next time. Like it thinner? Add a splash more milk. You’re in control .
- Meal Prep Hero: Make a big batch on Sunday and portion into jars for grab-and-go breakfasts all week. It keeps for up to 5 days .
- Toppings Right Before Serving: Add granola and fresh fruit just before eating to keep them crunchy and fresh, not soggy .