Drømmekage, or “Dream Cake,” is a beloved classic in Danish homes for good reason. It’s the epitome of simple baking with spectacular results: a light, buttery vanilla cake base is baked, then topped with a mixture of butter, sugar, and coconut that transforms in the oven into a chewy, crackly, caramelized blanket.
The contrast between the soft cake and the crunchy, sweet topping is pure magic. Requiring just one bowl and a whisk, this cake is famously easy to make but looks and tastes like a professional confection. It’s the perfect treat for fika, a potluck, or any day that needs a little sweet dream.
The Science of the Crackly Coconut Topping
The magic of Dream Cake lies in the two-stage bake and the caramelization of the topping. The cake base is a simple, high-moisture batter that sets quickly.
The topping—a mix of butter, brown sugar, milk, and coconut—is added halfway through baking while the cake is still liquid enough on top to allow the topping to partially sink in and bond. The high sugar and fat content of the topping means it behaves like a loose praline.
In the oven’s heat, the butter melts, the sugar dissolves and then recrystallizes with the milk solids, and the coconut toasts. This creates a brittle, chewy, and complex layer that cracks beautifully as the cake cools. The topping hardens on the surface but stays slightly gooey underneath where it meets the cake, creating its signature texture.
Instructions
The Whisked Egg & Sugar Base
In a large bowl, whisk together the granulated sugar, eggs, and vanilla extract until the mixture is pale, thickened, and falls in a ribbon from the whisk.
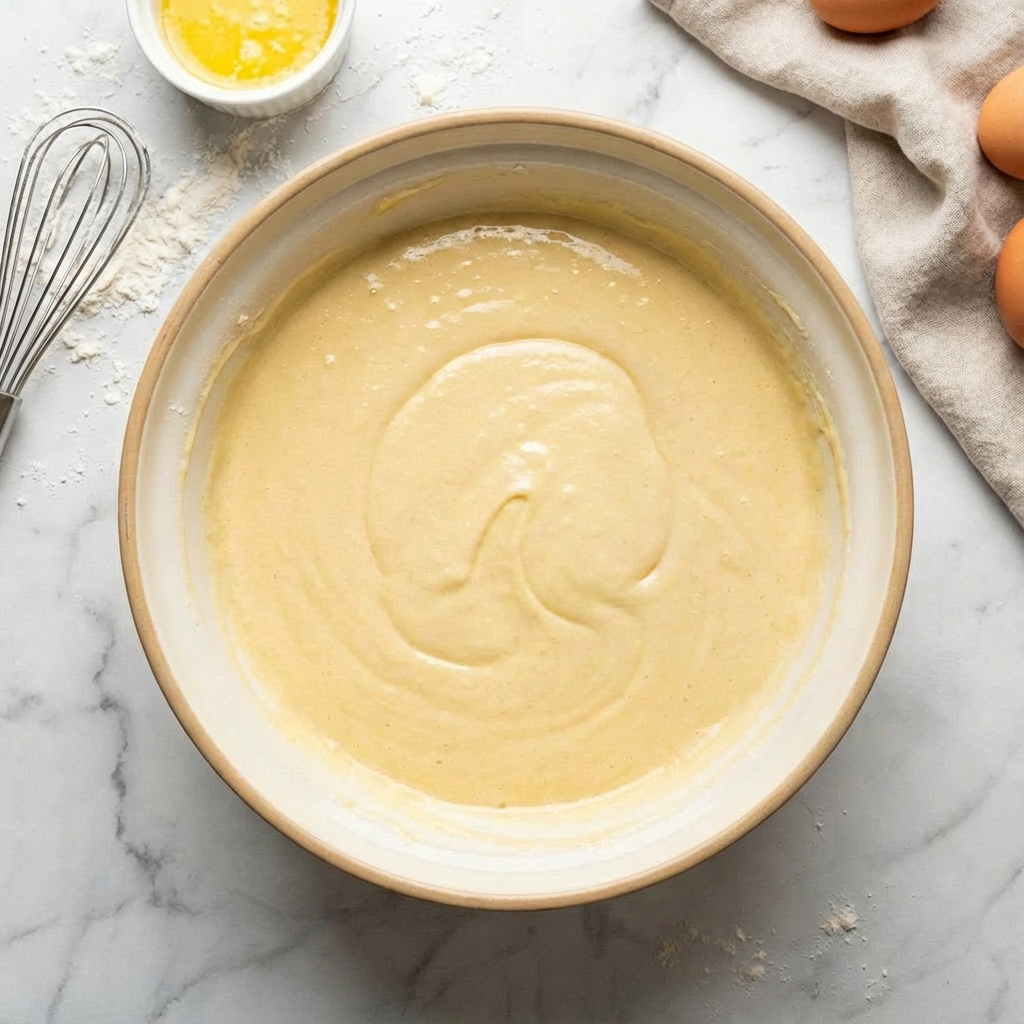
The Combined Cake Batter
Sift the flour and baking powder over the egg mixture. Gently fold in with a spatula until partially combined. Pour in the milk and melted butter. Fold gently just until the batter is smooth and no dry flour remains. Do not overmix.
The Spread Batter in the Pan
Pour the batter into a greased and parchment-lined 9×13 inch baking pan. Spread it evenly into all corners with a spatula.
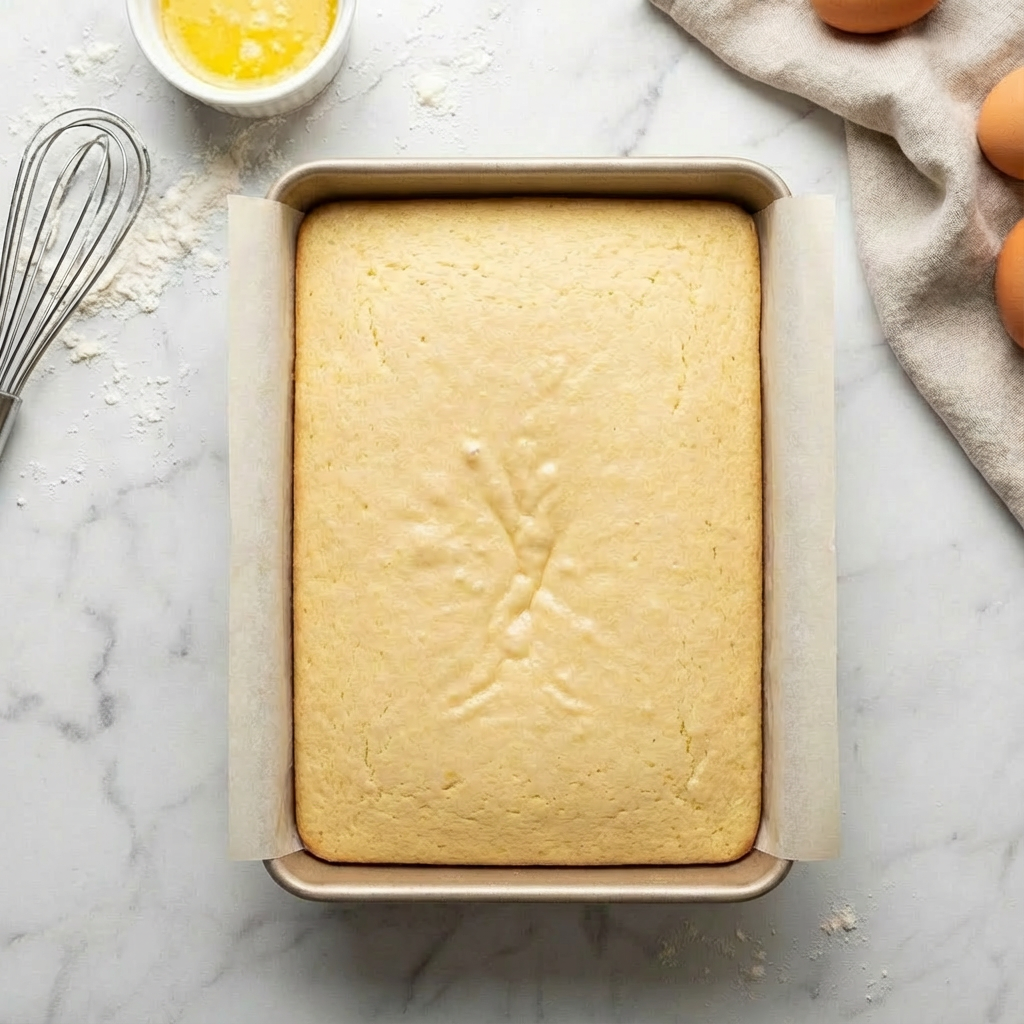
The Par-Baked Cake Base
Bake at 350°F (175°C) for 15 minutes. The cake will be just set on top but still very soft and undercooked in the center. This is the perfect stage to add the topping.
The Simmering Topping Mixture
While the cake bakes, make the topping. In a medium saucepan over medium heat, melt the butter. Stir in the brown sugar and milk. Bring to a simmer, stirring constantly, and let it bubble gently for 1 minute. Remove from heat and stir in the shredded coconut.
The Topped Cake Before Final Bake
After 15 minutes, carefully remove the par-baked cake from the oven. Pour the warm coconut topping evenly over the entire surface. Spread it gently with a spatula to cover the cake completely.
The Fully Baked Cake with Bubbling Topping
Return the pan to the oven and bake for an additional 15-20 minutes, until the topping is deeply golden brown, caramelized, and bubbling all over.
The Cooling Cake in the Pan
Place the baking pan on a wire rack and let the cake cool completely in the pan. As it cools, the bubbling topping will sink slightly and harden into a crackly, chewy layer.
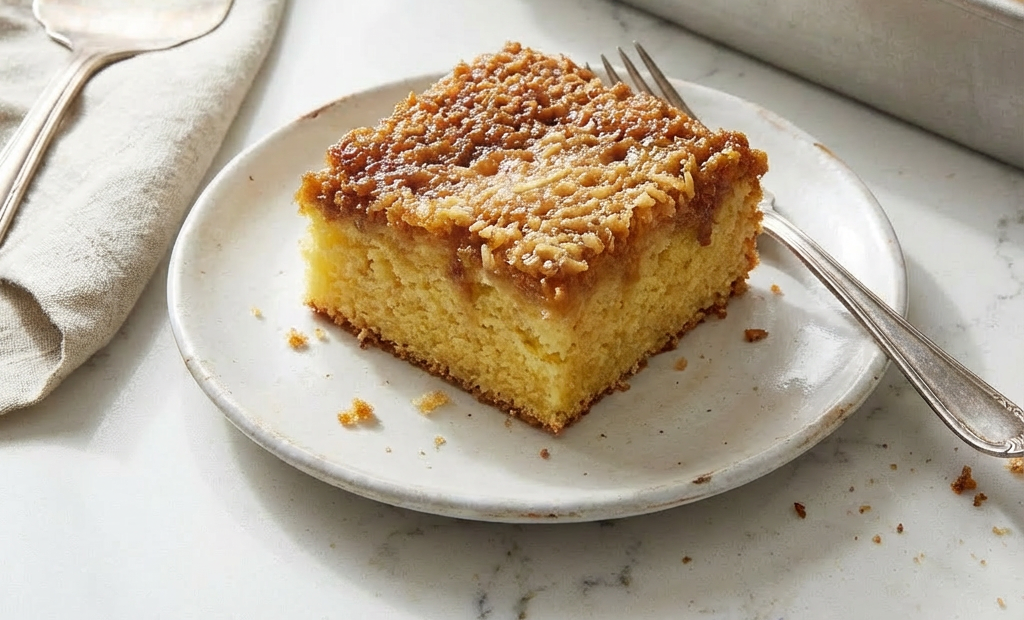
The Cut & Served Cake
Once completely cool, use the parchment paper to lift the cake out of the pan. Cut into squares. The topping will be crisp on top and slightly soft underneath where it meets the cake.
Pro-Tips for Dream Cake Perfection
- Room Temperature Ingredients: They incorporate more easily, ensuring a smooth, even batter.
- Don’t Overmix the Batter: Fold gently just until combined to keep the cake tender.
- Timing for Par-Bake: The 15-minute mark is a guide. The cake should look set on the edges but still wet in the center. If over-baked, the topping won’t sink in as well.
- Topping Consistency: The topping mixture should be fluid but not runny when poured. If it thickens too much while you wait, re-warm it slightly.
- Use Unsweetened Coconut: This is traditional and provides the best texture and balance against the sweet caramel.
- Cool Completely: This is crucial for clean cuts and for the topping to achieve its signature crackly-chewy texture. Cutting warm will be messy.
- Storage: Store covered at room temperature for up to 4 days. The topping will soften slightly over time but remains delicious.
- Make Ahead: The cake can be baked 1-2 days ahead. It actually tastes better the next day as the flavors meld.
- Variations: Add ½ teaspoon of cardamom to the batter for a Nordic twist. For a nuttier version, replace ½ cup of coconut with chopped pecans or almonds in the topping.
- Serving: Perfect with a cup of coffee or tea. It’s rich, so small squares are ideal.
This Danish Dream Cake is a testament to how humble ingredients can create something truly extraordinary.