If you’re craving something rich, creamy, and irresistibly sweet—but don’t want to turn on the oven—this No-Bake Banoffee Pie is exactly what you need. With a buttery biscuit crust, luscious caramel filling, fresh banana slices, and fluffy whipped cream, this dessert delivers big flavor with minimal effort.
Banoffee pie, a beloved British classic, gets its name from “banana” and “toffee.” Traditionally baked, this version skips the oven entirely while keeping all the indulgence. It’s perfect for warm days, last-minute guests, or when you simply want an easy yet impressive dessert.
Let’s walk through it step by step.
Why You’ll Love This No-Bake Version
- No oven required
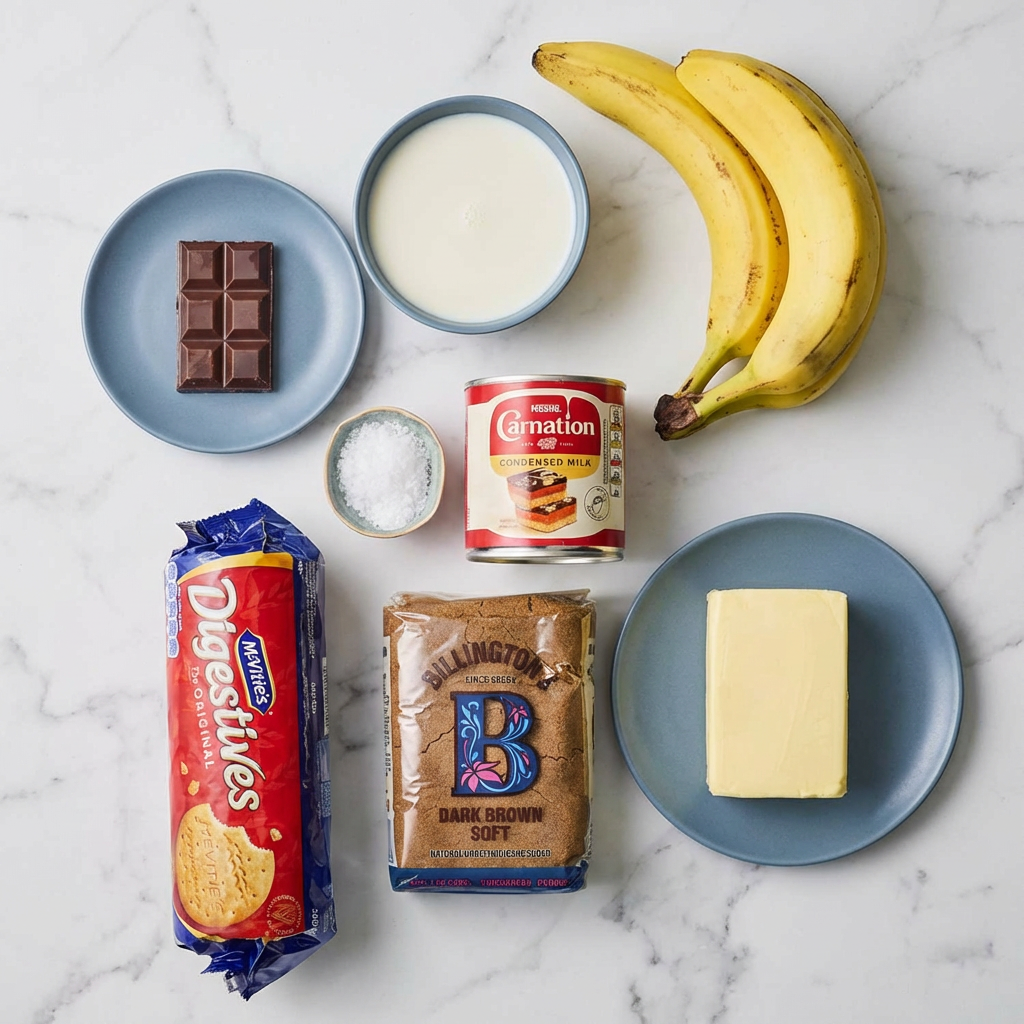
- Simple, accessible ingredients
- Minimal prep time
- Make-ahead friendly
- Perfect balance of creamy, crunchy, and sweet
The secret is creating a firm crust that sets in the refrigerator and layering it with rich dulce de leche and fresh bananas.
Prepare the Crust
In a medium mixing bowl, combine the graham cracker crumbs, melted butter, and sugar. Stir until the mixture resembles wet sand and holds together when pressed between your fingers.
Press the mixture firmly into a 9-inch pie dish, covering the bottom and slightly up the sides. Use the bottom of a measuring cup to pack it down tightly—this helps it hold its shape once chilled.
Place the crust in the refrigerator for at least 30–45 minutes to firm up.
Tip: The firmer you press the crust, the cleaner your slices will be later.
Prepare the Caramel Layer
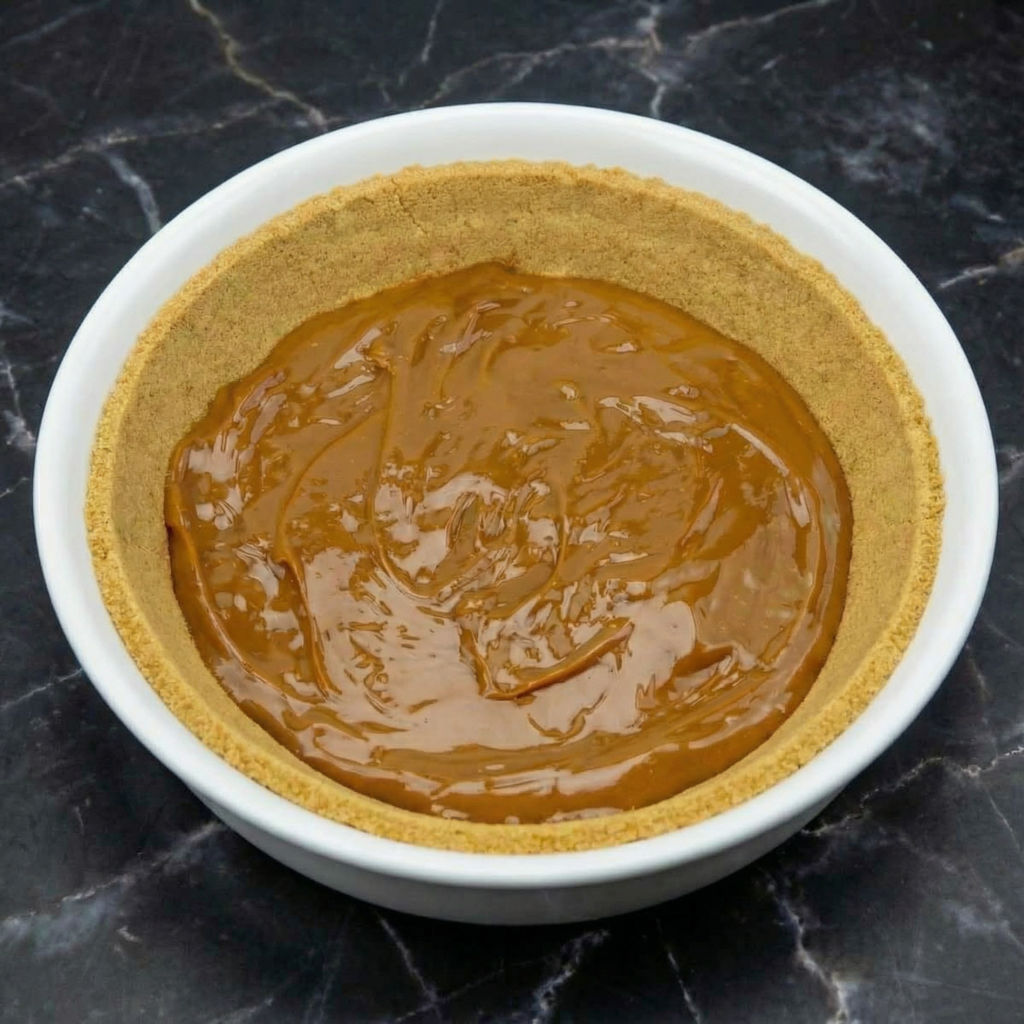
While the crust chills, stir your dulce de leche until smooth and spreadable. If it’s too thick, warm it gently in the microwave for 10–15 seconds to loosen it.
Once the crust is firm, spread the dulce de leche evenly across the base. Use an offset spatula or spoon to smooth it into an even layer.
Return the pie to the refrigerator for about 15 minutes to let the caramel set slightly before adding bananas.
This step keeps the layers neat and defined.
Slice and Layer the Bananas
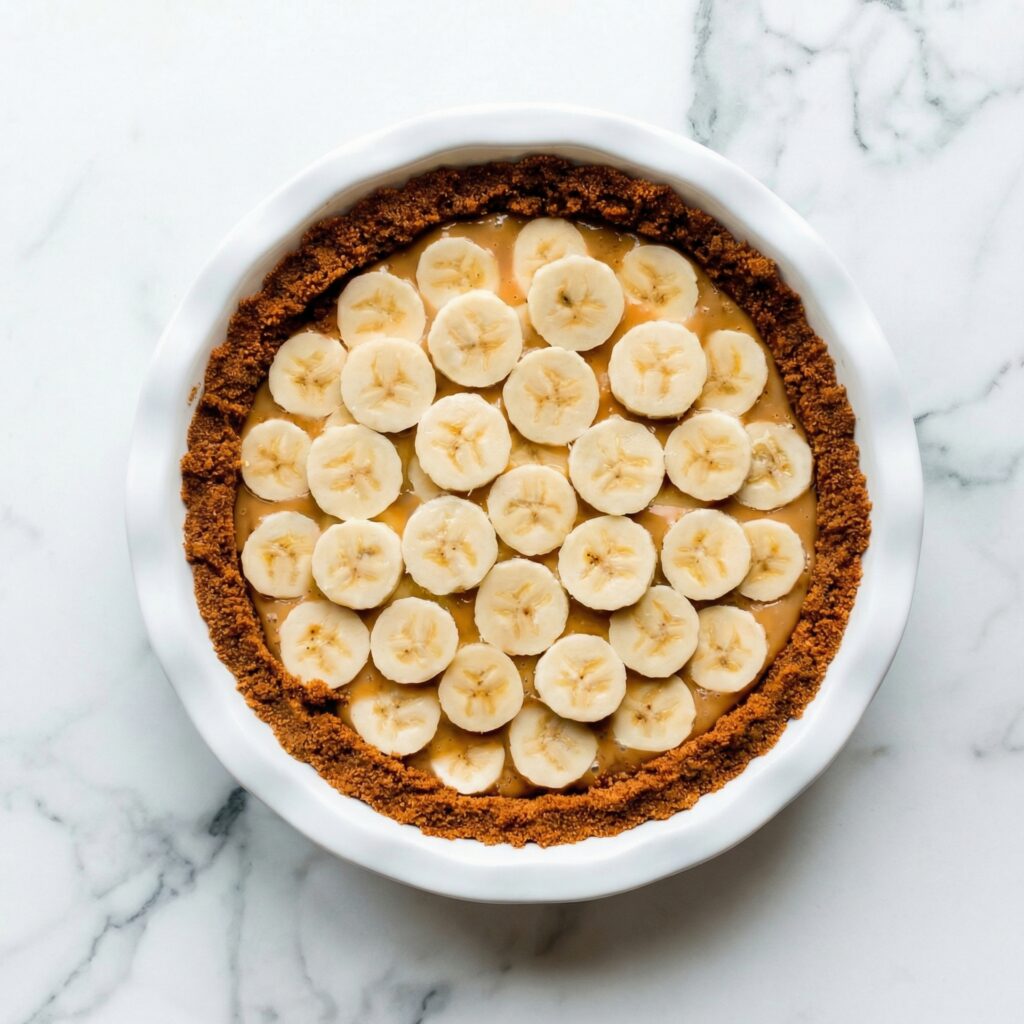
Peel the bananas and slice them into even rounds, about ¼-inch thick.
Arrange the banana slices evenly over the caramel layer. You can slightly overlap them, but aim for a consistent layer across the pie.
Choose bananas that are ripe but still firm. Overripe bananas can become mushy and overly sweet.
Optional tip: Lightly brush the banana slices with lemon juice to slow browning if making ahead.
Whip the Cream
In a chilled mixing bowl, add the heavy whipping cream, powdered sugar, and vanilla extract.
Using a hand mixer or stand mixer, beat on medium-high speed until soft peaks form. Continue whipping until stiff peaks form, meaning the cream holds its shape when you lift the beaters.
Be careful not to overwhip, as it can turn grainy or begin separating.
The whipped cream should be thick, fluffy, and smooth.
Add the Final Layer
Spoon the whipped cream over the banana layer. Spread evenly, or create decorative swirls with the back of a spoon.
For a polished finish, garnish with chocolate shavings, grated dark chocolate, or a light dusting of cocoa powder.
This topping adds visual appeal and a subtle chocolate note that pairs beautifully with banana and caramel.
Chill to Set
Refrigerate the assembled pie for at least 2 hours before serving. This allows the layers to firm up and makes slicing much easier.
For best results, chill 3–4 hours if time allows.
The longer it chills (within reason), the better the structure.
Slice and Serve
Use a sharp knife dipped in warm water for clean slices. Wipe the blade between cuts for neat presentation.
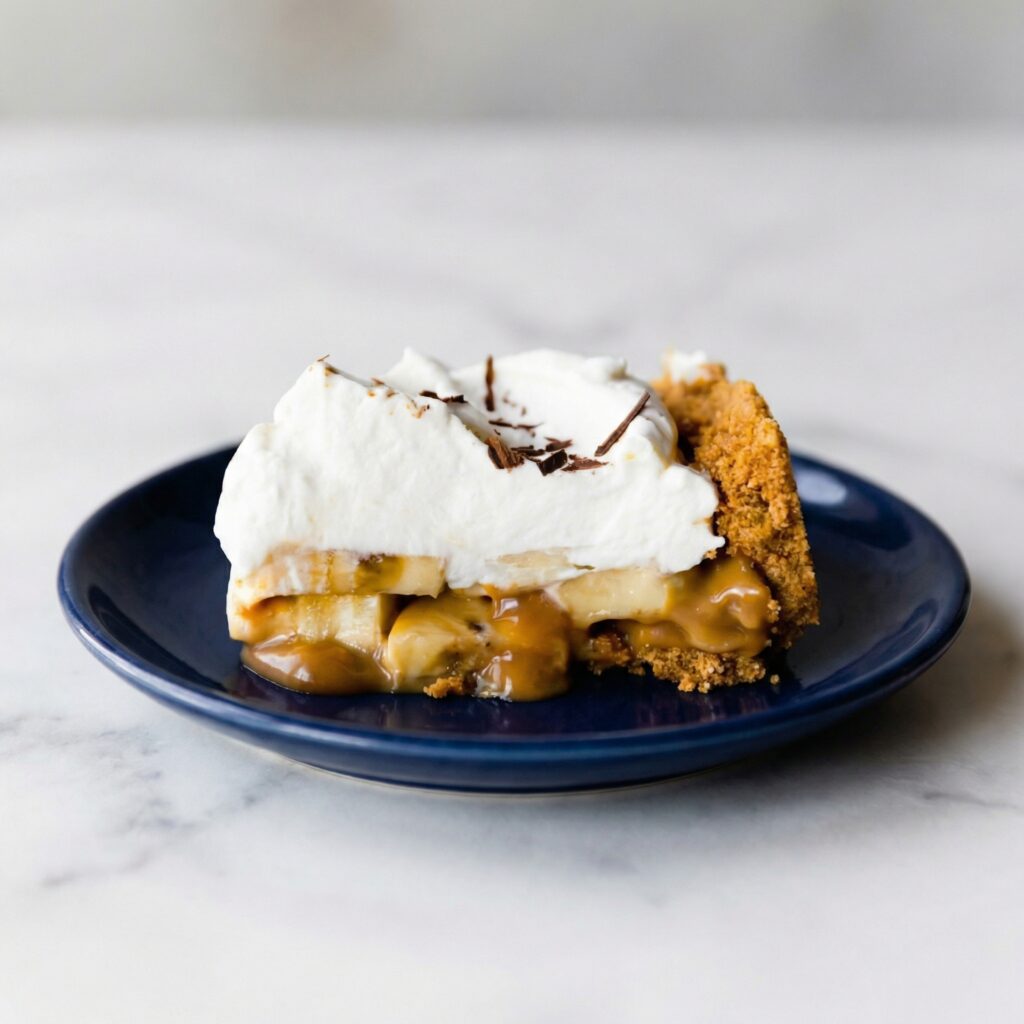
Each slice should show distinct layers:
- Firm, buttery crust
- Thick caramel
- Fresh banana
- Cloud-like whipped cream
Serve chilled for the best texture and flavor balance.
Tips for the Perfect No-Bake Banoffee Pie
- Press the crust very firmly to prevent crumbling.
- Chill between layers to keep structure clean.
- Use full-fat whipping cream for stable peaks.
- Avoid overripe bananas.
- Serve within 24 hours for the freshest appearance.
Make-Ahead and Storage
This pie can be made up to one day in advance. Store covered in the refrigerator.
It’s best enjoyed within 1–2 days, as bananas may begin to brown and release moisture over time.
Freezing is not recommended because whipped cream and bananas change texture when thawed.
Optional Variations
Want to customize it?
- Add a thin layer of melted chocolate over the crust before caramel.
- Sprinkle flaky sea salt over the caramel for a salted twist.
- Use chocolate cookie crumbs instead of graham crackers.
- Add a drizzle of chocolate sauce on top before serving.
This No-Bake Banoffee Pie proves that you don’t need an oven to create a show-stopping dessert. With its buttery crust, silky caramel, fresh bananas, and fluffy whipped cream, it’s a guaranteed crowd-pleaser.
It’s rich yet balanced, simple yet impressive, and easy enough for beginner bakers. Whether you’re hosting guests or treating yourself, this chilled dessert delivers comfort and indulgence in every bite.
No baking. No stress. Just layers of sweet, creamy perfection.