Craving pizza but don’t have an oven? Or maybe it’s a million degrees outside and turning on the oven feels like a crime. Either way, we’ve got you covered. This stovetop pepperoni pizza is the real deal—crispy, chewy, bubbly, and absolutely covered in melty cheese and crispy pepperoni.
And the best part? It’s ready in about 10 minutes, start to finish. A hot skillet becomes your mini pizza oven, creating a crust that’s perfectly golden and crisp on the bottom while the top gets all melty and glorious under a lid. No oven, no problem. Just pizza perfection.
The Secret to Stovetop Pizza Perfection
The magic of stovetop pizza lies in two things: a hot skillet and a lid. A cast iron or heavy-bottomed skillet gets screaming hot, giving you that crispy, golden-brown crust that shatters slightly when you bite into it. The lid traps the heat, creating a mini-oven effect that melts the cheese and cooks the toppings from above.
The other secret? Pre-cook your sauce doesn’t need to simmer for hours, but a quick hit of heat concentrates the flavors. And don’t overload—a modest amount of sauce and cheese ensures everything cooks through without becoming a soggy mess. Follow these rules, and you’ll have stovetop pizza that rivals any delivery.
Instructions
Bring Dough to Room Temperature
Take your pizza dough out of the fridge at least 30-60 minutes before you start. Room temperature dough is much easier to stretch .
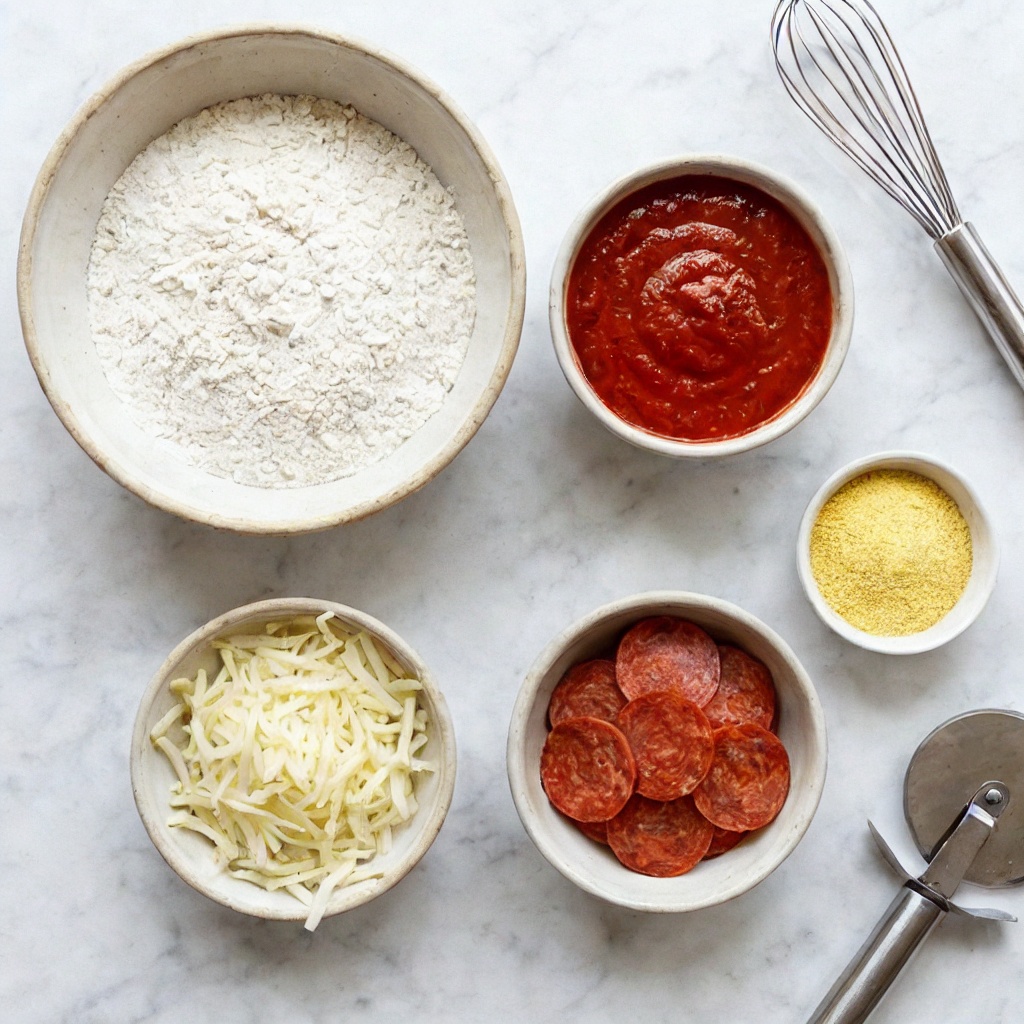
Prepare Your Workspace
Lightly flour a clean surface. If you have cornmeal or semolina, sprinkle some on your work surface—it adds texture and prevents sticking .
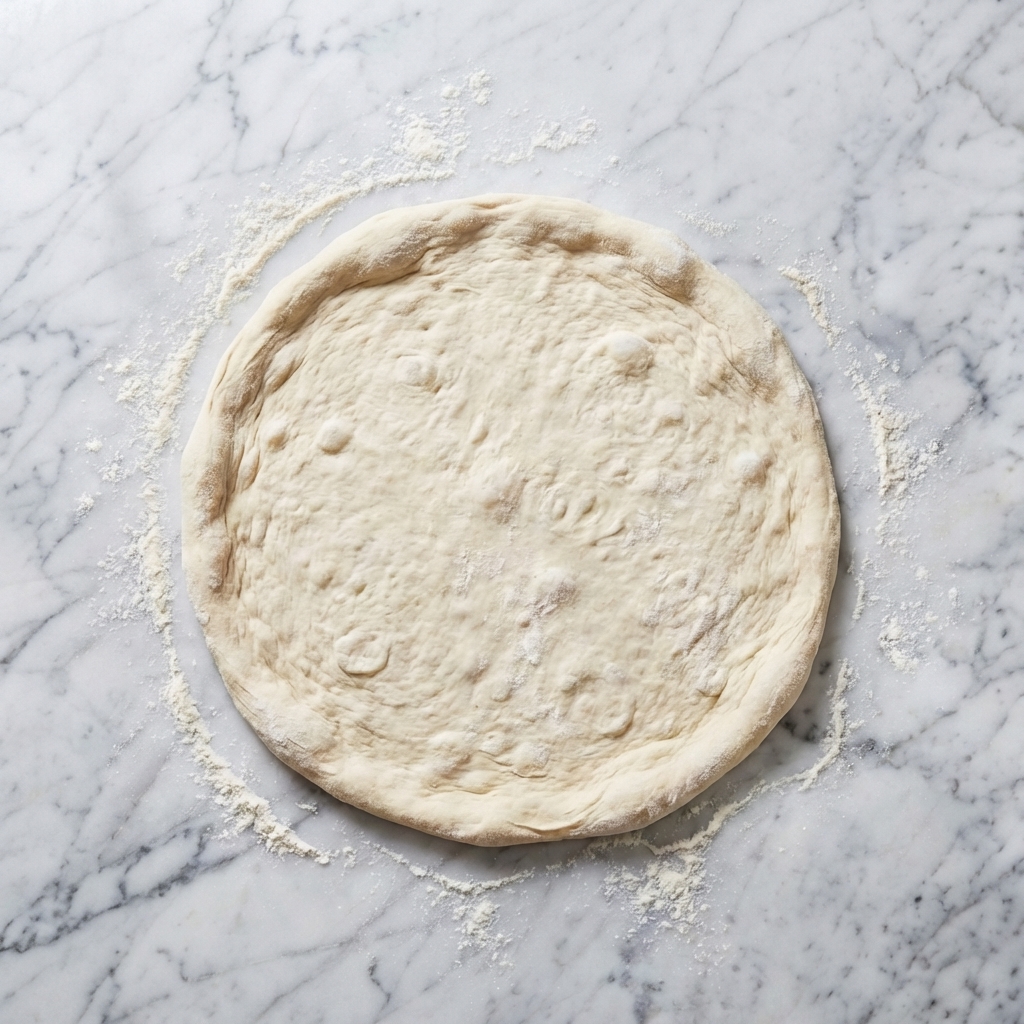
Stretch the Dough
Place the dough on your prepared surface. Use your fingertips to gently press it into a circle, then pick it up and let gravity help you stretch it. Use your knuckles to gently stretch and rotate the dough until it’s about 10-12 inches in diameter, slightly thinner in the center than at the edges .
Heat the Skillet
Place a large (10-12 inch) cast iron or heavy-bottomed skillet over medium-high heat. Add 1 tablespoon of olive oil and let it get hot .
Add Dough to Skillet
Carefully lay the stretched dough into the hot skillet. It should sizzle immediately. Cook for 2-3 minutes until the bottom is golden brown and crisp. Use a spatula to peek underneath .
Flip the Dough
Flip the crust over using tongs and a spatula. Cook for another 1-2 minutes on the second side .
Add Sauce
Spread the pizza sauce evenly over the crust, leaving a small border for the crust edge. Work quickly so the crust doesn’t burn .
Add Cheese
Sprinkle the shredded mozzarella evenly over the sauce .
Add Pepperoni
Arrange the pepperoni slices over the cheese. Go ahead, be generous .
Cover and Melt
Place a lid or a large piece of foil over the skillet. Reduce heat to medium-low and cook for 3-5 minutes until the cheese is completely melted and bubbly and the pepperoni is crisping at the edges .
Check the Bottom
Use a spatula to lift the edge and check that the bottom isn’t burning. If it’s getting too dark, reduce heat further .
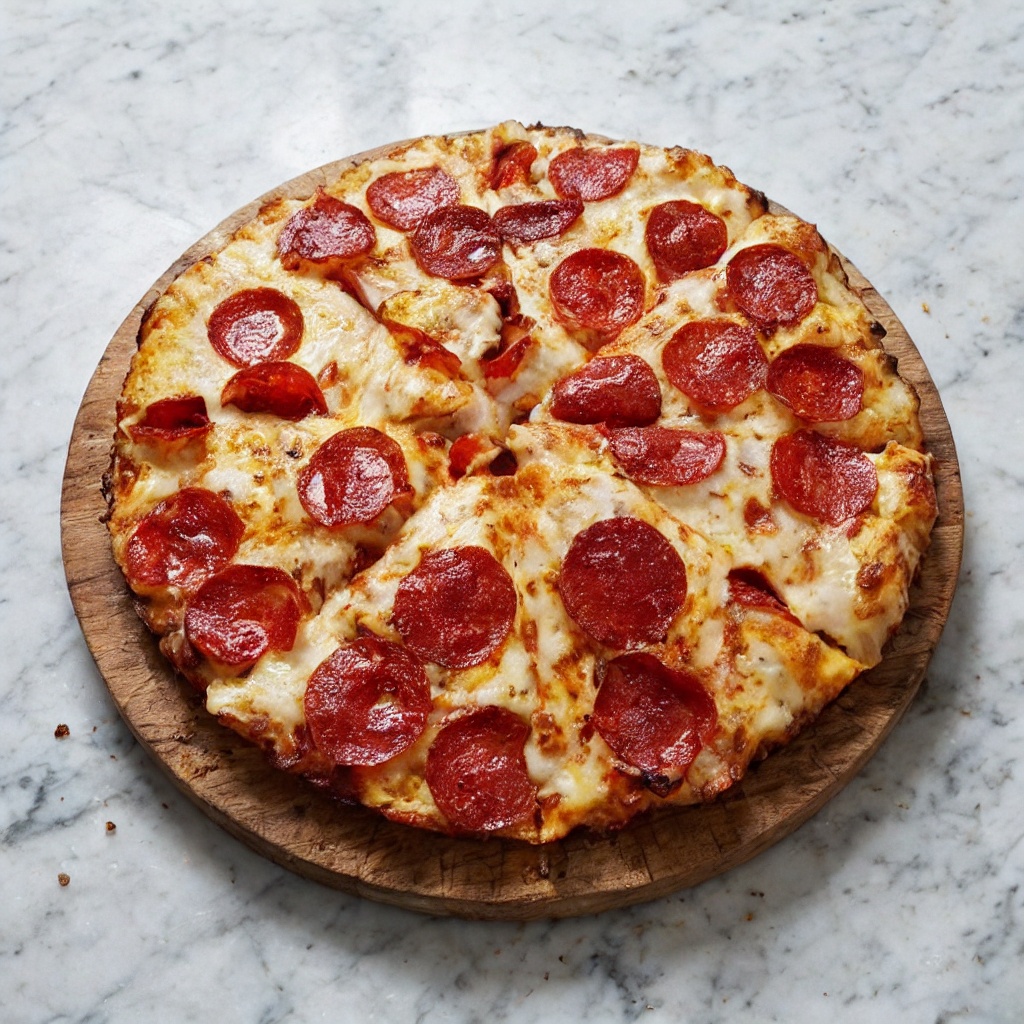
Serve
Carefully slide the pizza onto a cutting board. Sprinkle with fresh basil, red pepper flakes, or Parmesan if desired. Slice and serve immediately .
Pro-Tips for Stovetop Pizza Greatness
- Room Temperature Dough is Essential: Cold dough will fight you and shrink back. Let it rest on the counter for at least 30 minutes before stretching .
- Don’t Overload Toppings: A modest amount of sauce and cheese ensures everything cooks through without becoming soggy .
- Use a Lid: The lid traps heat and creates the oven effect that melts the cheese. Don’t skip it .
- Cast Iron is Best: A cast iron skillet holds heat beautifully and gives you that perfect crispy crust. If you don’t have one, any heavy-bottomed skillet will work .
- Watch the Heat: Every stovetop is different. If the bottom is browning too quickly, reduce the heat. Low and slow(er) wins the race .