There’s nothing quite like the aroma and taste of freshly baked bread, and with a bread machine, it’s easier than ever to achieve. This recipe is your gateway to perfect, consistent loaves every time. Simply add the ingredients to the pan in the correct order, press a button, and let the machine handle the mixing, kneading, rising, and baking.
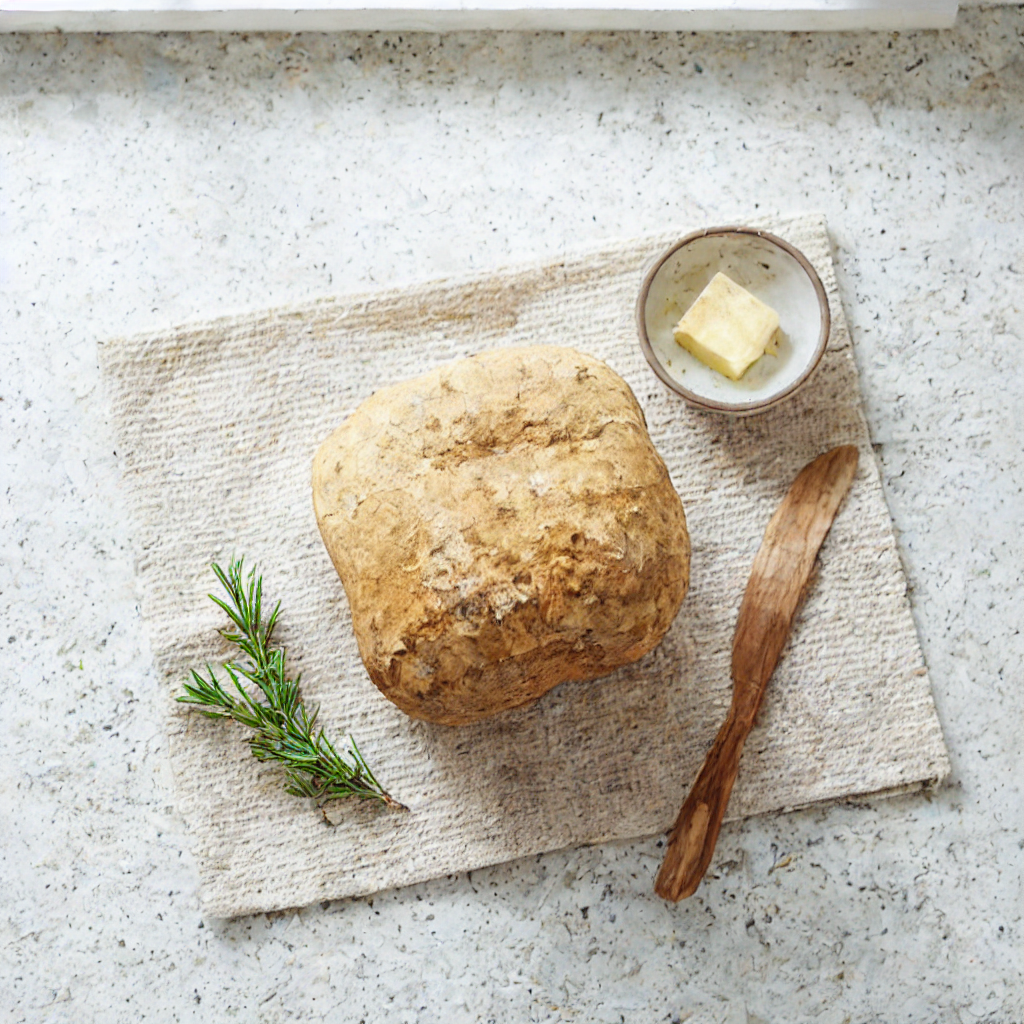
The result is a beautifully tall, soft, and tender white loaf with a light, golden crust—ideal for sandwiches, toast, or simply slathered with butter. It’s homemade bread made truly hassle-free.
The Science of the Machine-Made Loaf
The bread machine automates the three critical stages of bread making: kneading, proofing, and baking, each in a controlled environment. During the knead cycle, the paddle thoroughly mixes and develops the gluten network, which is essential for the bread’s structure and chew.
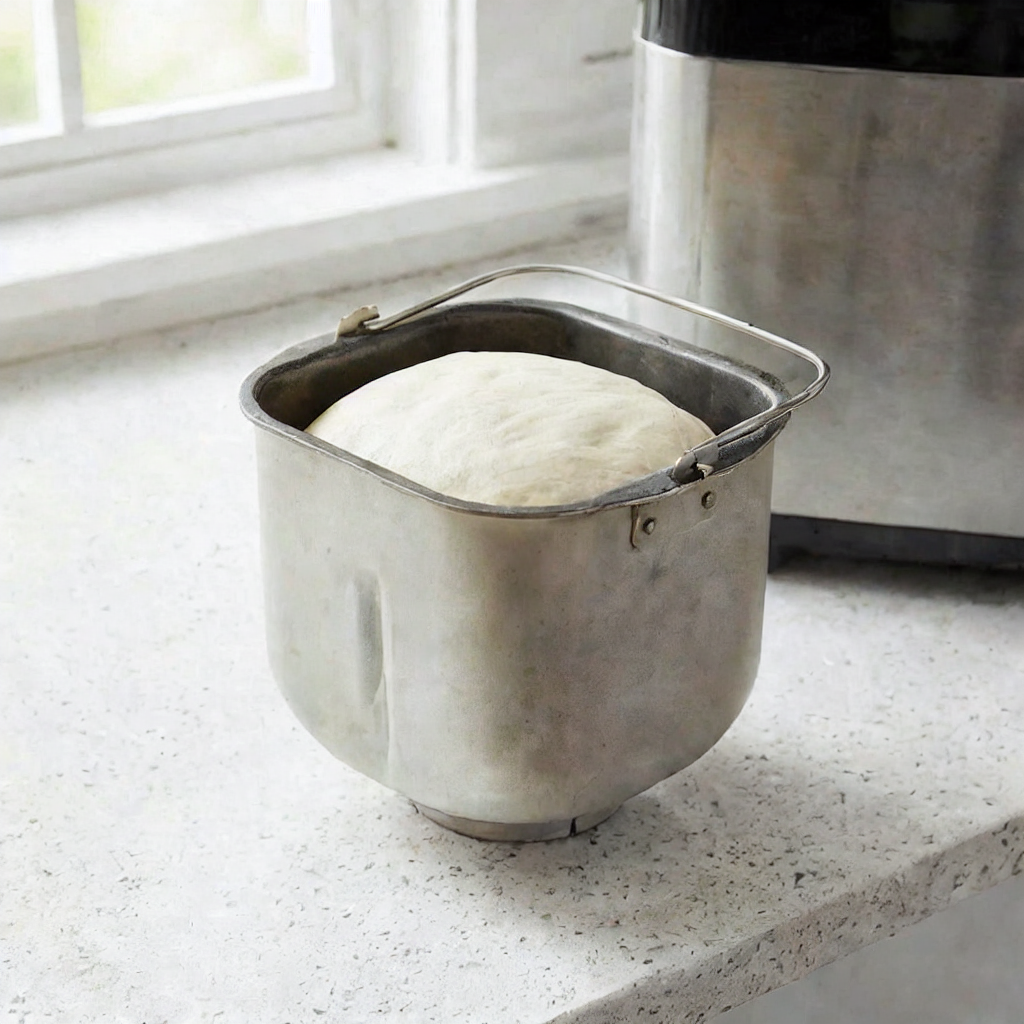
The proofing cycle provides a warm, humid environment for the yeast to ferment, producing carbon dioxide that makes the dough rise. Finally, the baking cycle applies consistent, surrounding heat that sets the structure, browns the crust, and creates that irresistible aroma.
The order of adding ingredients (typically liquids first, then dry, with yeast last) is crucial to prevent the yeast from activating prematurely. This precise, hands-off process removes the guesswork and variables of traditional baking, guaranteeing a perfect loaf with minimal effort.
Instructions
The Measured Liquid Ingredients in the Pan
To the bread machine pan, add the warm water, softened or melted butter, sugar, and salt.
The Added Flour Mound
Add the bread flour to the pan, carefully pouring it over the liquid to cover the surface completely.
The Yeast in its Well
Use your finger to make a small well (indentation) in the top center of the flour mound. This keeps the yeast dry until mixing begins. Pour the yeast into this well.
The Pan Locked in the Machine
Securely place the bread pan into the bread machine. Close and lock the lid.
The Selected Cycle & Settings
Select the appropriate cycle for a basic white loaf. Typically, this is the “Basic” or “White Bread” cycle. Choose your desired crust color (Light, Medium, or Dark) and the loaf size (1.5 lb). Press start.
The Baked Loaf in the Pan
At the end of the cycle, the machine will beep. The bread will be fully baked, with a deep golden-brown crust, and the pan will be very hot.
The Loaf Removed from the Pan
Using oven mitts, carefully remove the hot pan from the machine. Tip the loaf out onto a clean kitchen towel or cooling rack. The loaf should release easily. Remove the kneading paddle from the bottom of the loaf if it’s stuck inside.
The Cooling Loaf
Allow the bread to cool completely on a wire rack for at least 1 hour before slicing. This allows the interior crumb to set and prevents a gummy texture.
The Sliced Loaf
Once completely cool, use a serrated bread knife to slice the loaf. The interior should be soft, fluffy, and uniform with a fine, tender crumb.
Pro-Tips for Bread Machine Success

- Ingredient Temperature Matters: Use warm water (not hot) to activate the yeast without killing it. Cold ingredients can slow or prevent rising.
- Follow the Manufacturer’s Order: Most machines require liquids first, then dry, with yeast last. Always check your manual.
- Measure Accurately: Use measuring cups for liquids and a kitchen scale for flour for the most consistent results.
- Don’t Open the Lid: Resist the urge to check during the rise or bake cycles, as it releases heat and humidity crucial for the bread’s success.
- Remove Promptly: Take the loaf out of the machine as soon as the cycle ends to prevent condensation from making the crust soggy.
- Cool Completely: This is the hardest but most important rule. Slicing warm bread compresses the crumb and makes it seem doughy.
- Troubleshooting: If your loaf is too dense, your yeast may be old. If it collapses, there may be too much liquid or the room was too warm.
- Customize It: Add ½ cup of raisins or dried cranberries at the beep (if your machine has a fruit/nut add signal). For a richer loaf, replace water with milk and add an egg.
- Storage: Store cooled bread in a plastic bag at room temperature for 2-3 days, or slice and freeze for longer storage.
- Clean the Pan: Let the pan and paddle soak in warm, soapy water to easily remove any baked-on dough.
This Perfect White Bread recipe unlocks the full, simple potential of your bread machine.