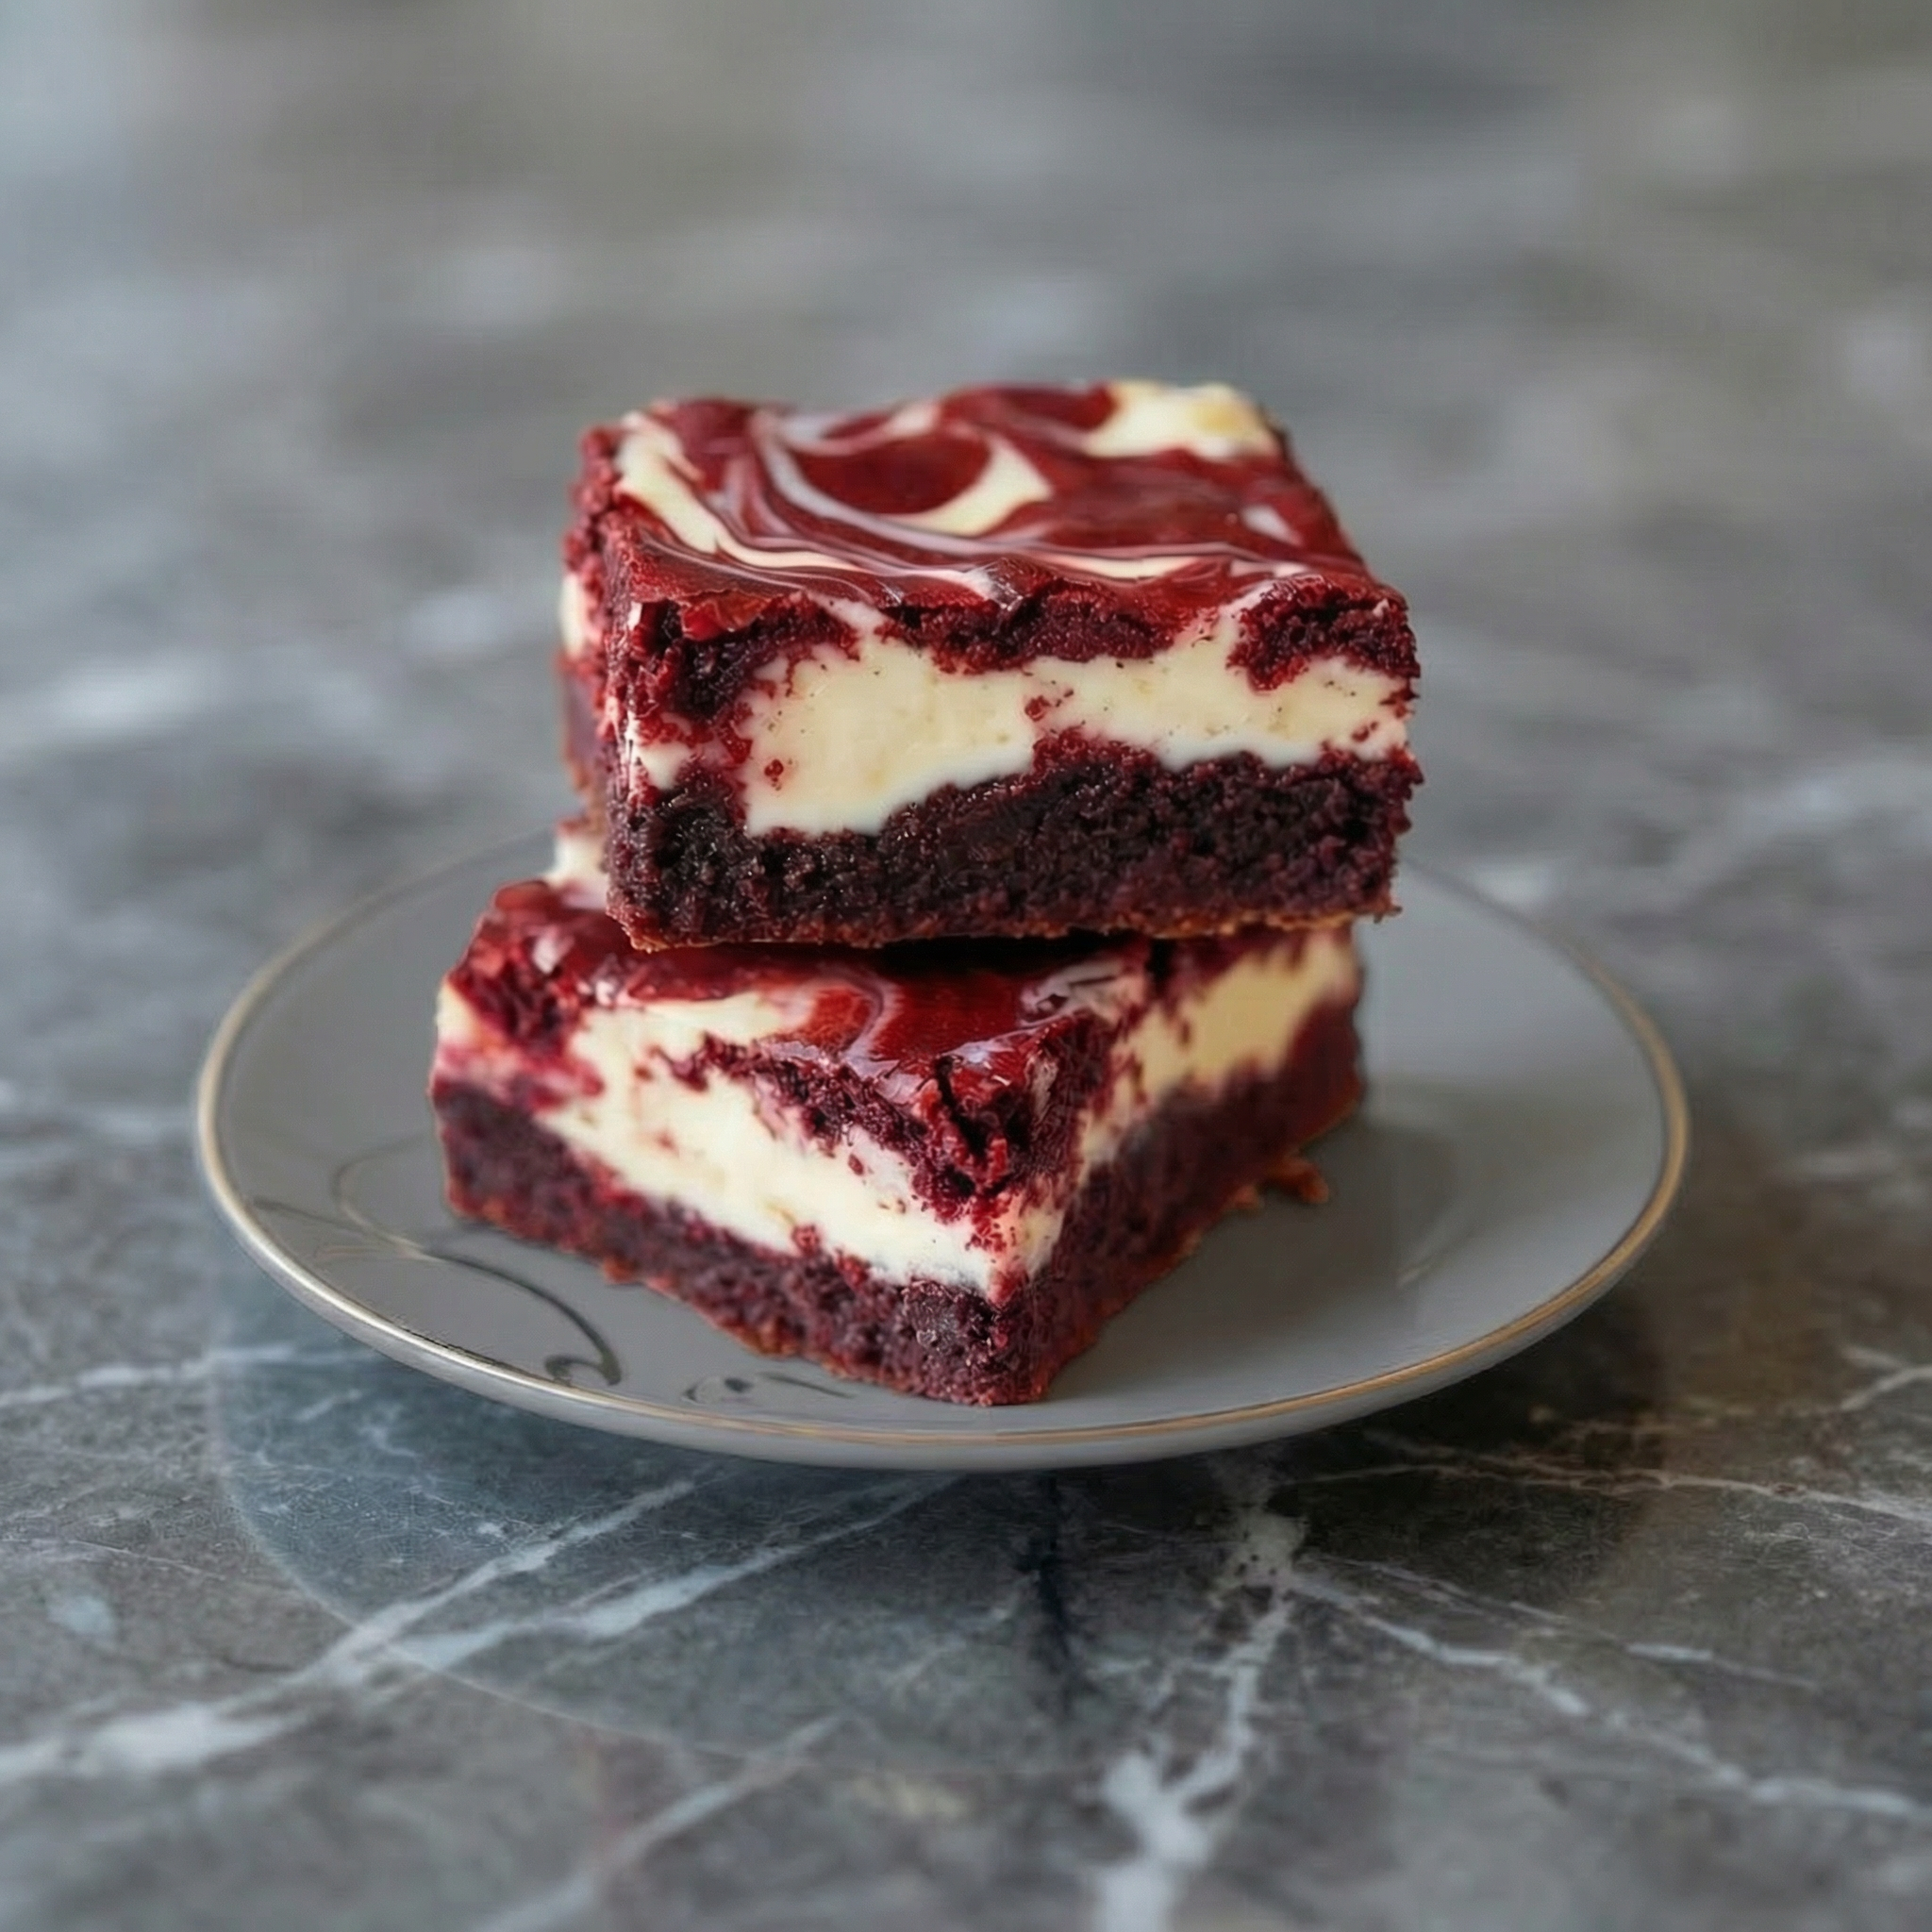
Let’s talk about the perfect marriage of two desserts: red velvet cake and fudgy brownies. These red velvet brownies are everything you could want—rich, chocolatey, strikingly beautiful, and swirled with creamy cheesecake goodness.
They have the signature tang of red velvet, the fudgy texture of a perfect brownie, and a gorgeous cream cheese swirl that makes every bite irresistible. They’re perfect for Valentine’s Day, Christmas, or any time you want to impress with something stunning and delicious. And the best part? They’re easier to make than you’d think. Let’s get swirling.
Instructions
Preheat and Prep
Preheat your oven to 350°F (175°C). Grease an 8×8 or 9×9-inch baking pan and line it with parchment paper, leaving overhang on two sides for easy removal .
Melt Butter
In a medium saucepan or microwave-safe bowl, melt the butter. Let it cool slightly .
Combine Wet Ingredients
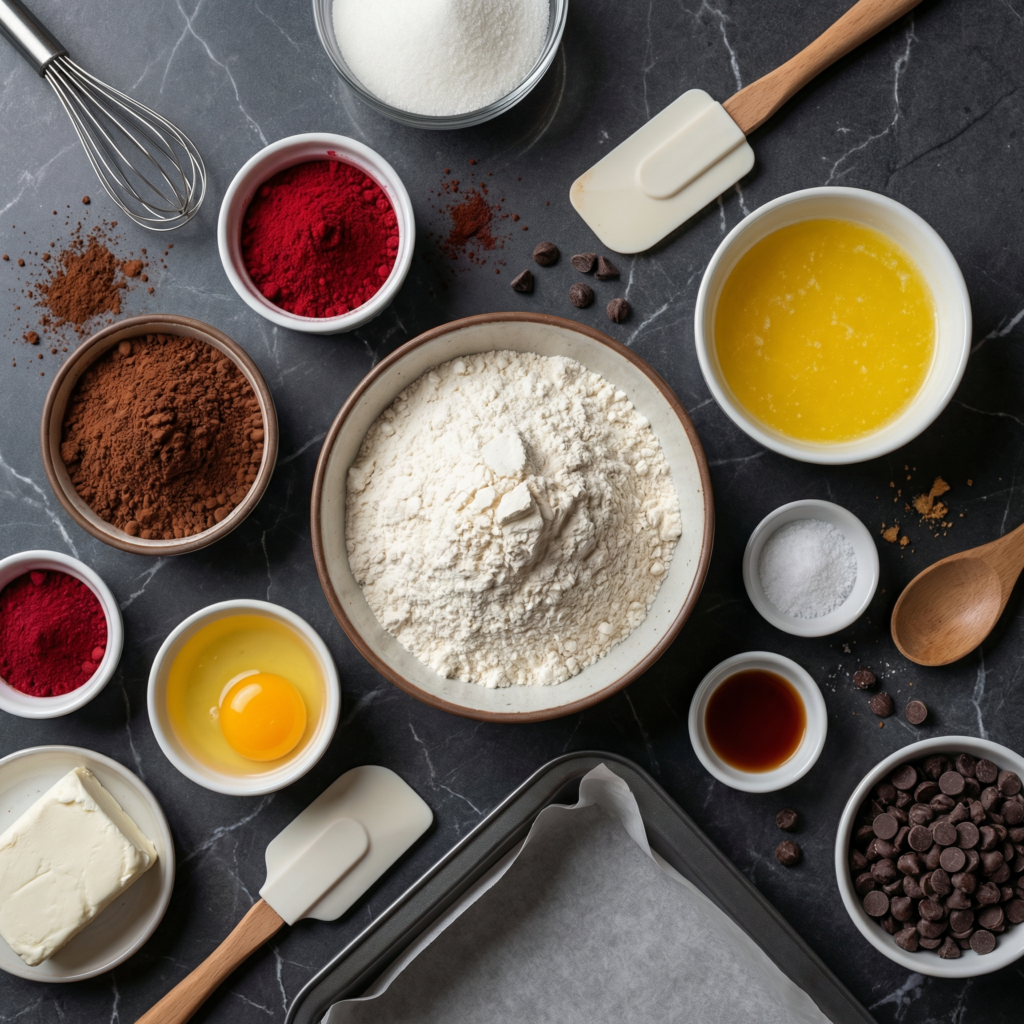
In a large bowl, whisk together the melted butter, granulated sugar, and brown sugar until well combined. Whisk in the eggs one at a time, then the vanilla extract, red gel food coloring, and white vinegar until smooth and uniformly red .
Add Dry Ingredients
Sift the flour, cocoa powder, and salt into the wet mixture. Fold gently with a spatula until just combined. Do not overmix .
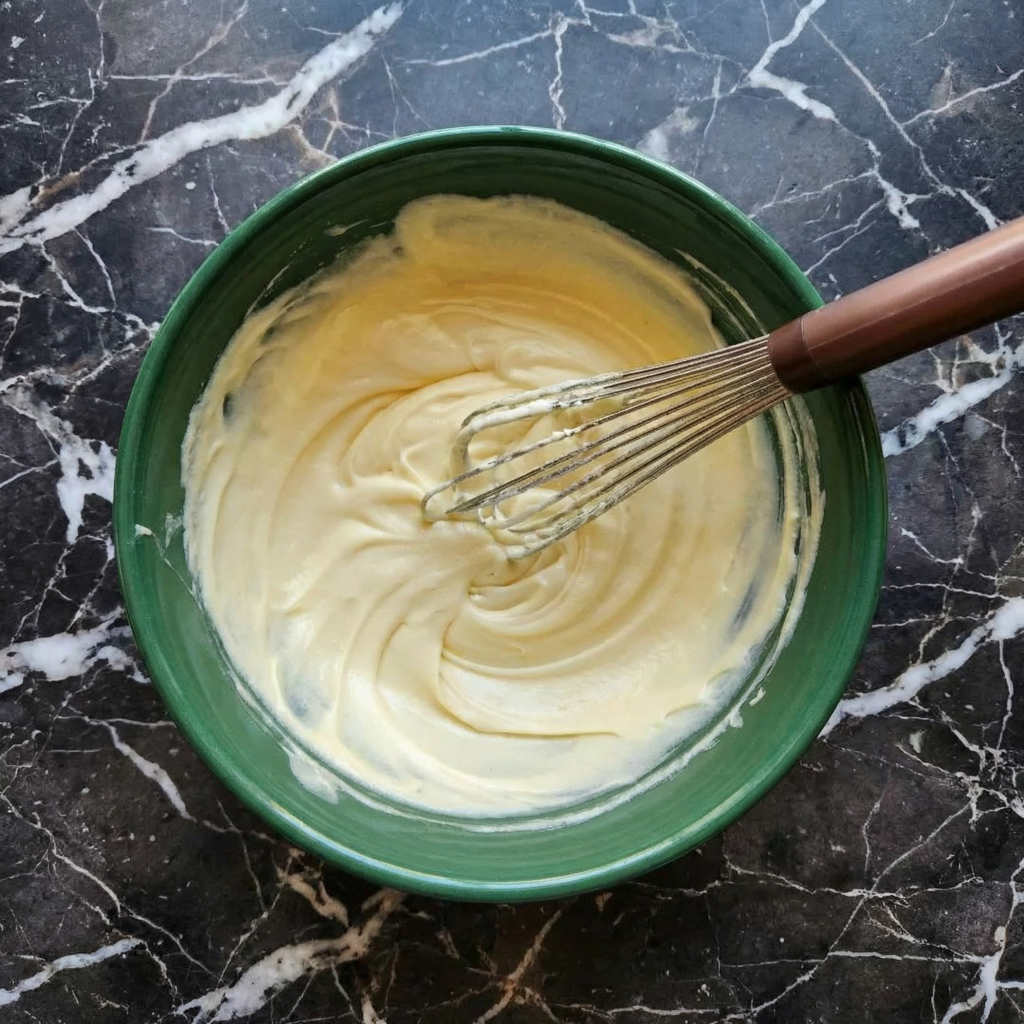
Make Cream Cheese Swirl
In a separate bowl, beat the softened cream cheese and granulated sugar until smooth. Add the egg yolk and vanilla extract, beating until well combined and creamy .
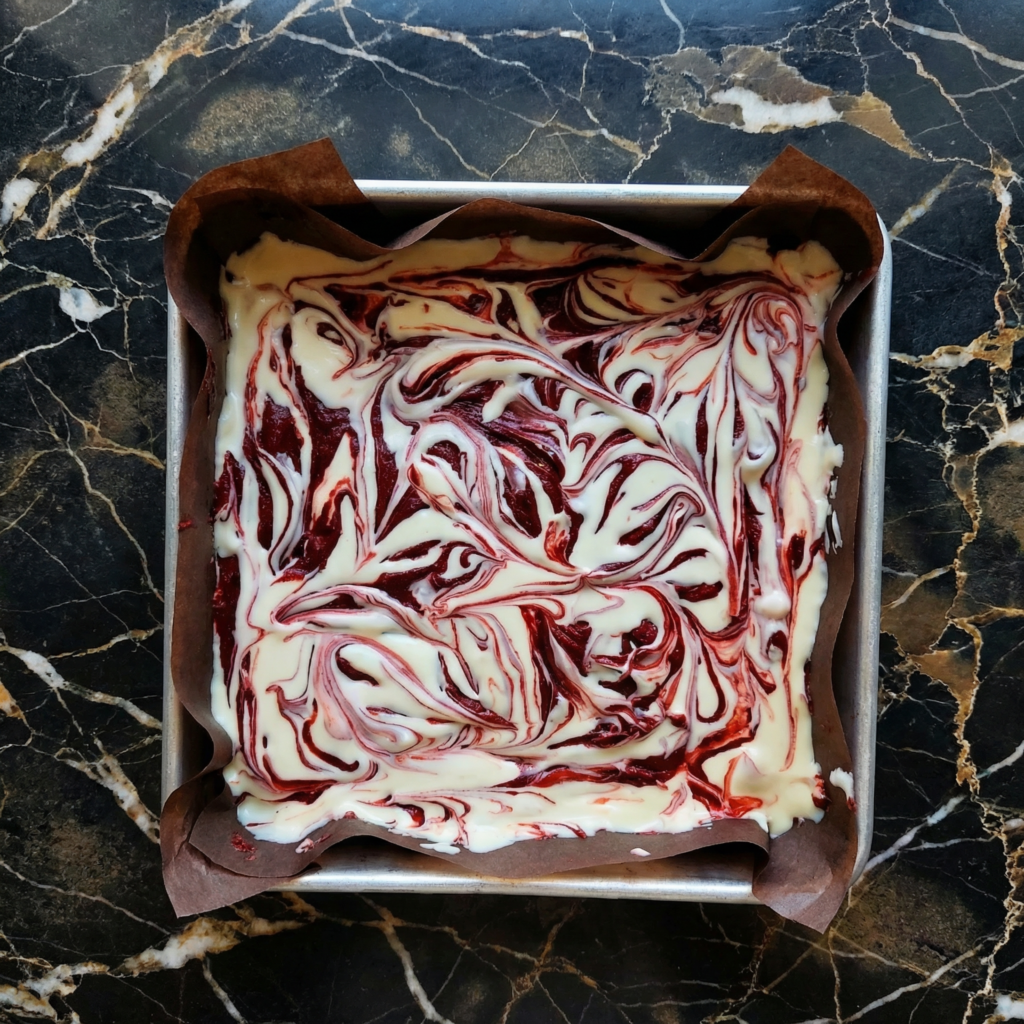
Assemble
Pour the red velvet batter into the prepared pan and spread evenly. Drop spoonfuls of the cream cheese mixture over the batter. Use a knife or toothpick to gently swirl the cream cheese into the red velvet batter, creating a marbled effect. Don’t over-swirl—you want distinct pockets of cream cheese .
Bake
Bake for 30-35 minutes until the edges are set and a toothpick inserted into the center comes out with a few moist crumbs (not wet batter). The center should still look slightly soft .
Cool Completely
Let the brownies cool completely in the pan on a wire rack. This is essential for clean slices—at least 2 hours .
Chill (Optional but Recommended)
For the cleanest cuts, refrigerate the cooled brownies for 1-2 hours before slicing .
Slice
Use the parchment overhang to lift the brownies out of the pan. Place on a cutting board and slice into squares with a sharp knife, wiping clean between cuts .
Serve
Dust with powdered sugar just before serving if desired .
Store
Store in an airtight container in the refrigerator for up to 5 days .
Pro-Tips for Red Velvet Brownie Greatness
- Use Gel Food Coloring: Liquid food coloring can thin the batter and won’t give you that vibrant red color. Gel is the way to go .
- Room Temperature Ingredients: For the cream cheese swirl, make sure the cream cheese is softened to avoid lumps .
- Don’t Over-Swirl: A few gentle swirls are enough. Over-swirling will muddy the beautiful red and white contrast .
- Cool Completely: These brownies need time to set up. Don’t rush the cooling process .
- Chill Before Slicing: For picture-perfect squares, refrigerate before cutting. A warm knife helps too .