Let’s talk about cookie icing. The kind that goes on smooth, stays exactly where you put it, and dries to a beautiful, glossy, crack-free finish. The kind that makes your decorated cookies look like they came from a fancy bakery instead of your kitchen table. This is that icing. It’s made with just a few simple ingredients, comes together in minutes, and is endlessly customizable.
Outline, flood, drizzle, dunk—whatever your cookie decorating heart desires, this icing delivers. And the best part? It sets hard enough to stack but stays soft enough to bite into without shattering. Christmas cookies, birthday treats, or just because—let’s make some magic.
The Secret to Perfect Consistency (Flood vs. Outline)
The magic of sugar cookie icing is all about consistency. Too thick, and it won’t smooth out; too thin, and it’ll run right off your cookies. The secret is understanding the two main consistencies: outline consistency (thicker, like toothpaste) for piping borders and details, and flood consistency (thinner, like honey) for filling in large areas.
You start with a thick base icing, then thin it down gradually with tiny amounts of water until it reaches that perfect flow. The other secret? Patience between layers. Let your outlines dry for 15-20 minutes before flooding, and let flooded cookies dry completely (4-6 hours or overnight) before adding details or stacking. A little patience gives you that flawless, professional finish.
Instructions
Combine Dry Ingredients
In a large bowl (or the bowl of a stand mixer fitted with the paddle attachment), combine the sifted powdered sugar and meringue powder. Whisk together to break up any lumps.
Add Water and Mix
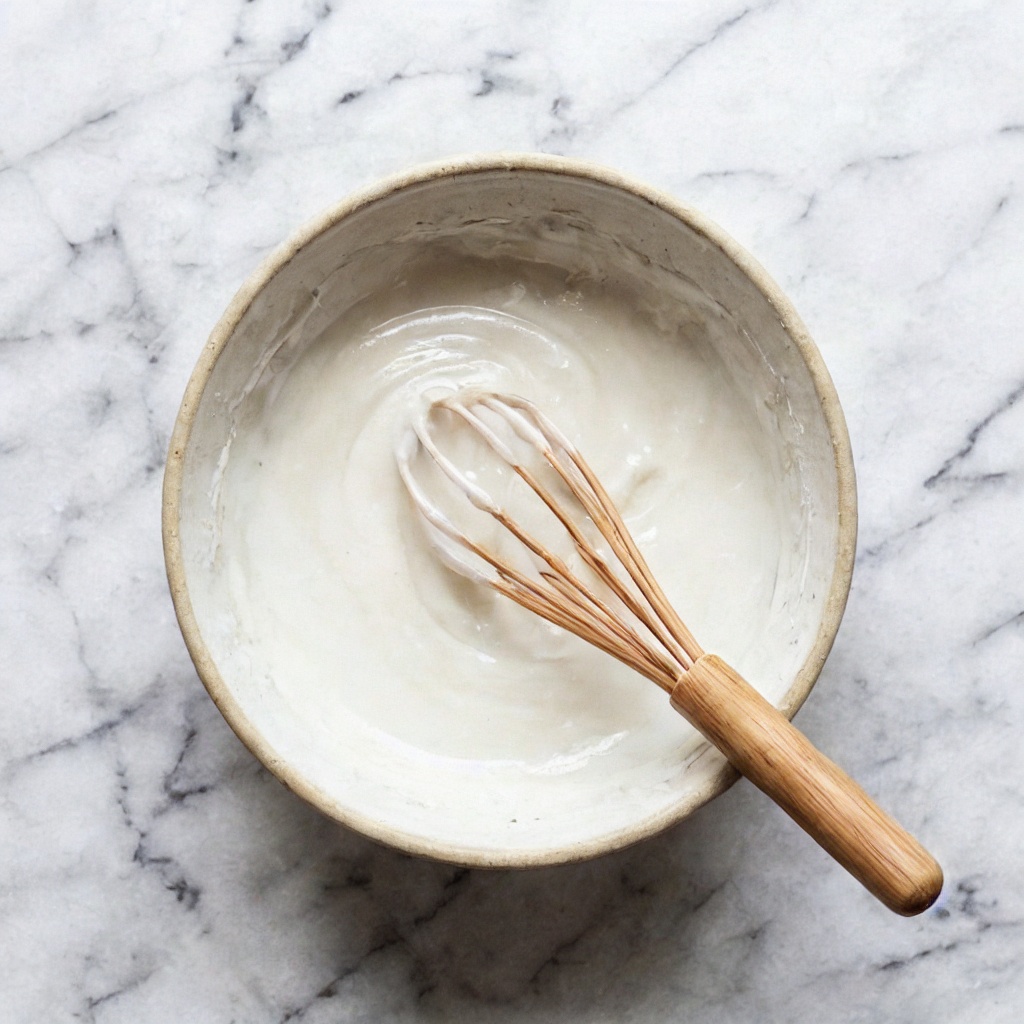
Add 5 tablespoons of warm water and the corn syrup (if using). Beat on low speed until combined, then increase to medium speed and beat for 3-4 minutes until the icing is thick, smooth, and glossy. It should look like thick, spreadable marshmallow fluff.
Check Consistency (For Outlining)
Lift the beater or a spoon—the icing should fall back into the bowl in a thick ribbon and disappear back into the surface within 10-15 seconds. This is your base outline consistency. If it’s too thick, add water ½ teaspoon at a time.
Add Flavor (Optional)
Stir in vanilla or almond extract if desired. Be aware that extract will thin the icing slightly.
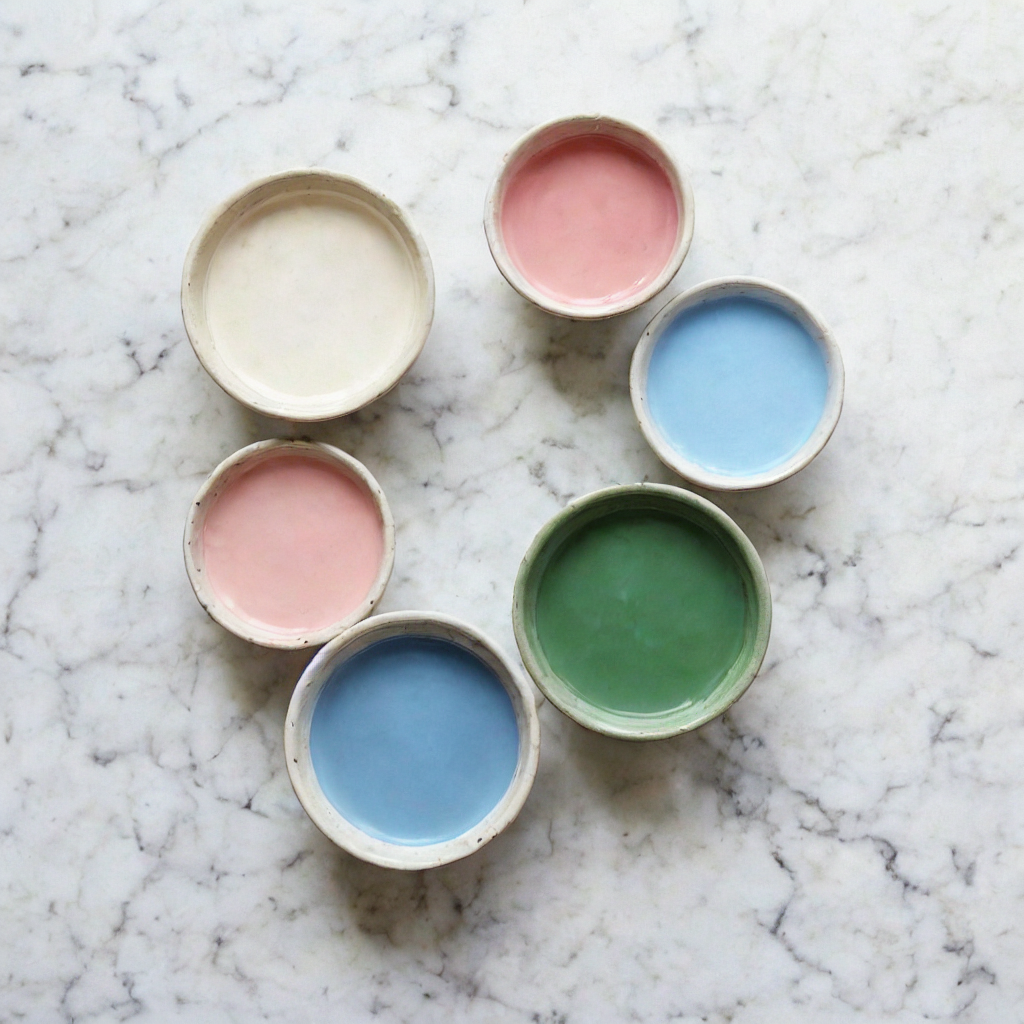
Divide for Colors
If using multiple colors, divide the icing into separate bowls. Leave one bowl white, and color the others with gel food coloring. Gel is essential—liquid coloring will ruin your consistency.
Adjust for Flood Consistency
For the icing you’ll use to fill in (flood), you need a thinner consistency. Take a portion of your outline icing and add water ¼ teaspoon at a time, stirring gently.
Test by lifting a spoon—the icing should fall back into the bowl and the ribbon should disappear into the surface within 5-8 seconds. It should be thin enough to smooth itself out, but not so thin that it runs off the cookie.
Transfer to Piping Bags
Fit piping bags with small round tips (or just snip a tiny corner off a disposable bag). Fill with your outline and flood icings. Keep unused icing covered with a damp paper towel to prevent drying.
Outline Your Cookies
Pipe a border around the edge of each cookie using your outline consistency icing. This “dam” will hold the flood icing inside. Let outlines dry for 15-20 minutes until a light crust forms.
Flood the Cookies
Using your flood consistency icing, fill in the area inside the outline. Use a toothpick or scribe tool to guide the icing into corners and pop any air bubbles. Let the icing settle and smooth itself.
Add Details
While the flood icing is still wet, you can add additional colors or details for a layered effect. For details on top of dried icing, wait 4-6 hours (or overnight) until completely set.
Let Dry Completely
Allow decorated cookies to dry uncovered at room temperature for at least 4-6 hours, preferably overnight. The icing should be completely hard to the touch and shiny.
Store
Once dry, store cookies in an airtight container at room temperature for up to 2 weeks. Do not refrigerate—humidity will ruin the shine.
Pro-Tips for Icing Greatness

- Meringue Powder is Non-Negotiable: It stabilizes the icing, helps it dry hard, and gives that beautiful matte-shiny finish. Don’t substitute.
- Gel Food Coloring Only: Liquid coloring adds too much moisture and ruins your carefully adjusted consistency.
- Cover Unused Icing: This icing dries out fast. Keep bowls covered with a damp paper towel or plastic wrap at all times.
- Practice on Parchment: If you’re new to decorating, practice outlining and flooding on a piece of parchment paper before touching your cookies.
- Patience is Everything: Let outlines dry before flooding. Let flooded cookies dry before stacking. Rushing leads to smudges and sadness.